
This post may contain affiliate links. Please see our disclosure policy.
Learn how to make brown butter so you can elevate everything from savory sauces to sweet desserts with deliciously rich, toasted butter. Who knew butter could get any better? Once you master this quick and easy cooking technique, you will use it for cookies, cakes, cupcakes, and even savory recipes!
I can’t even begin to describe how much I love brown butter. There’s so many recipes here at Britney Breaks Bread that feature this famed ingredient and honestly, there’s a lot more coming!
It goes with just about everything from sweet baked goods to savory pastas, frostings, sauces, almost anything you can think of.
What is brown butter?
Browned butter, or beurre noisette, is a cooking method that originated in French cuisine. The French term translates to hazelnut butter. It references the nutty, caramel flavor of browned butter.
The technique of browning butter involves gently cooking it just past its melting point. The end result is the milk solids of the butter caramelizing and developing a deepened, buttery flavor.
What is the difference between this and regular butter?
Before it is cooked, brown butter is just regular butter. During the process of browning, some of the water evaporates. Therefore, brown butter has a lower water content than regular butter.
So be mindful of recipe measurements because if you use brown butter instead of regular butter, you need to account for the evaporated water.
What kind of butter should I use?
Since there is just one ingredient in this recipe, splurge a bit! Use high-quality unsalted butter. I prefer to use unsalted so that I can control the sodium in my recipes.
How to Make Brown Butter
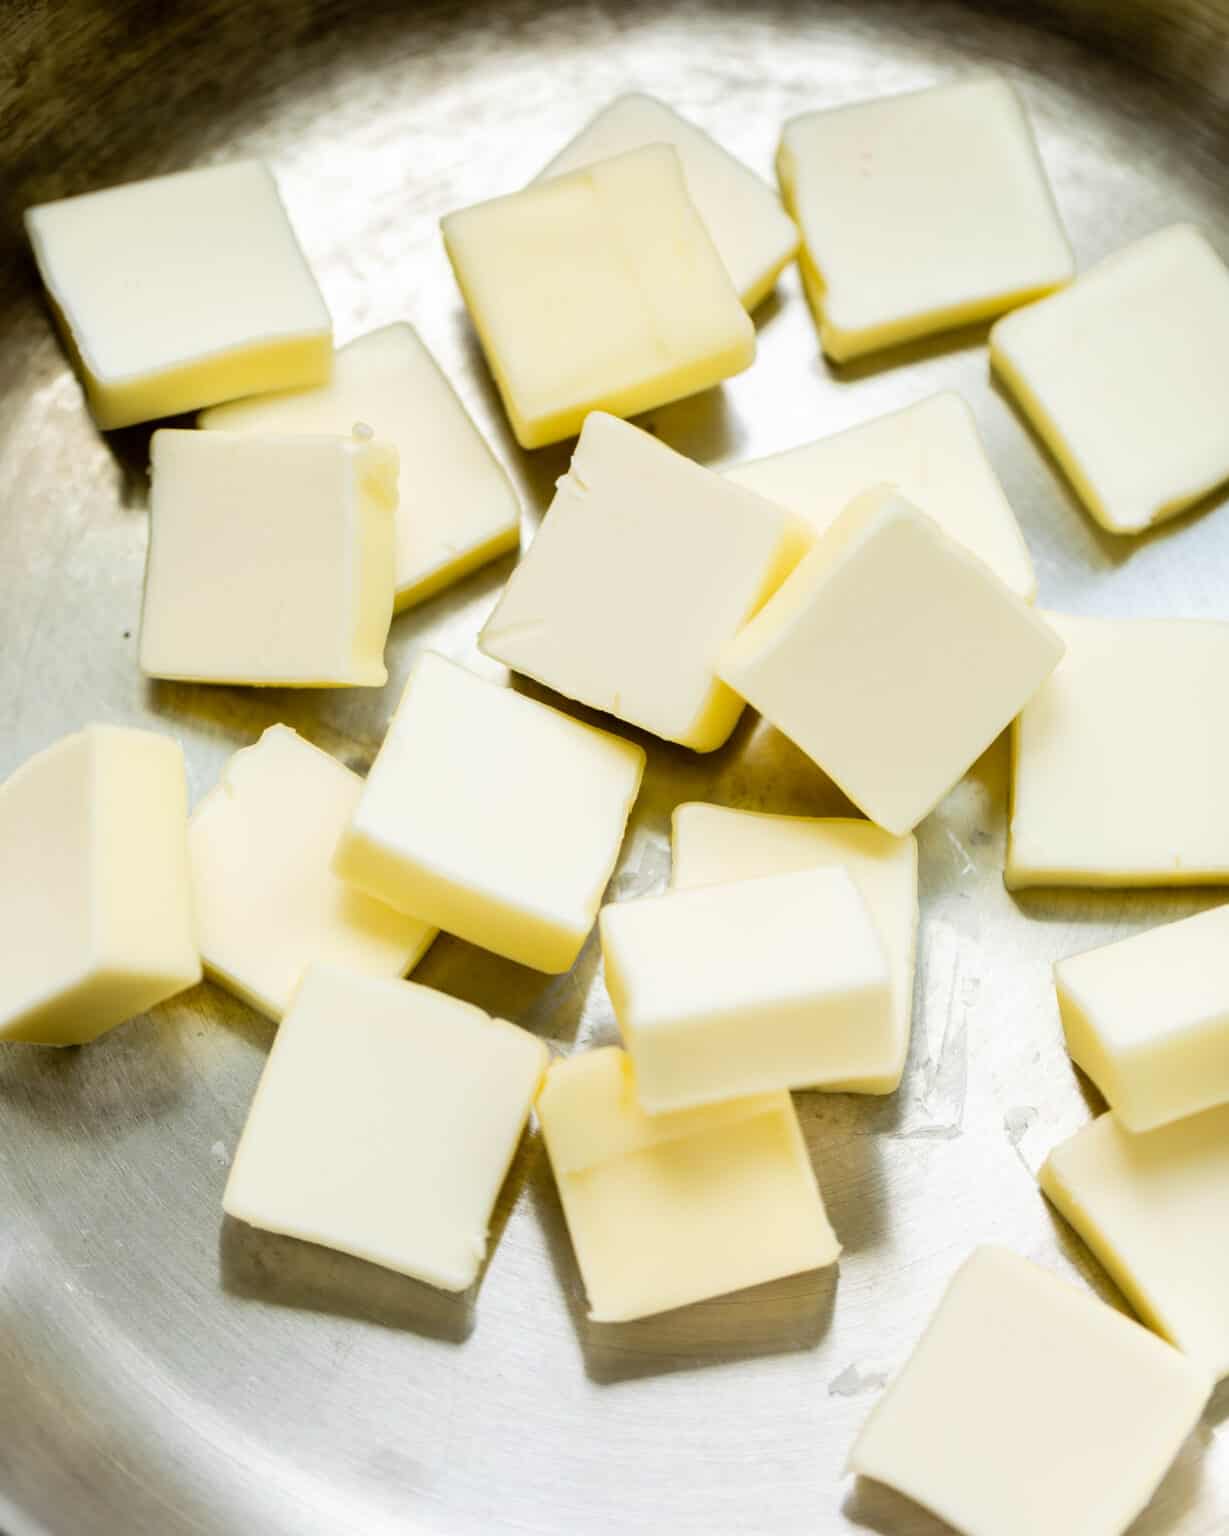
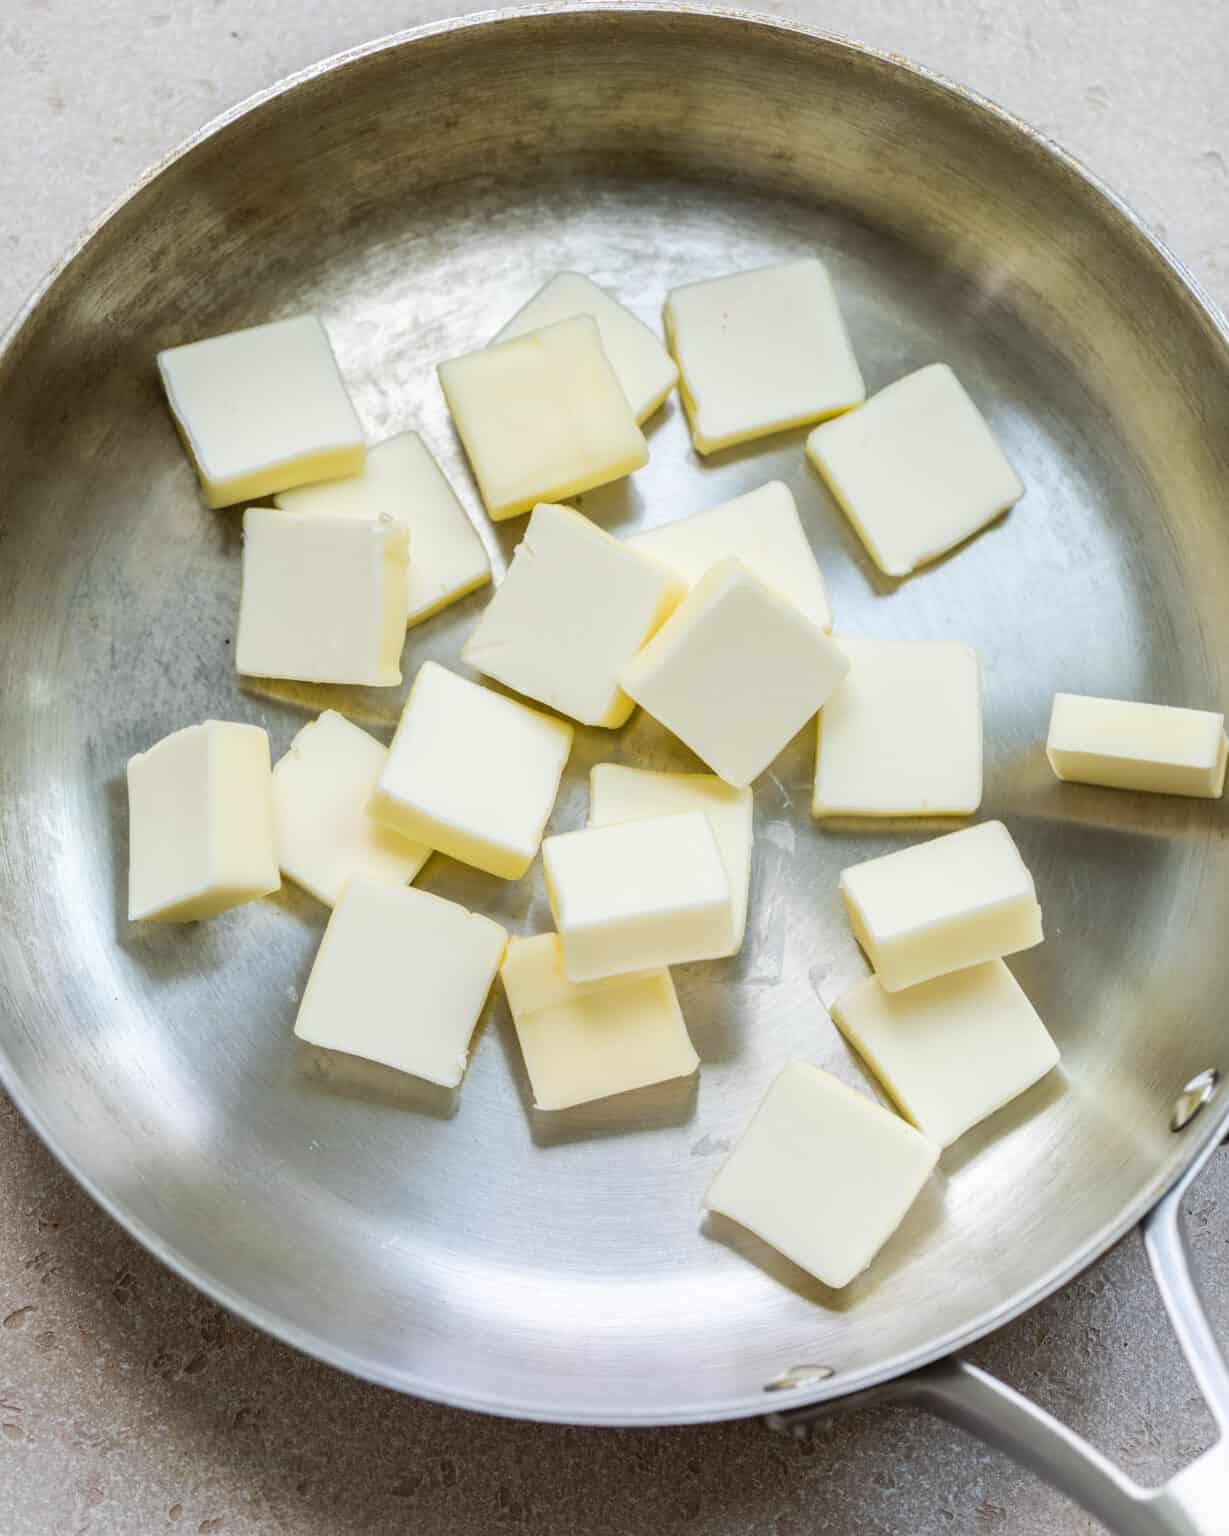
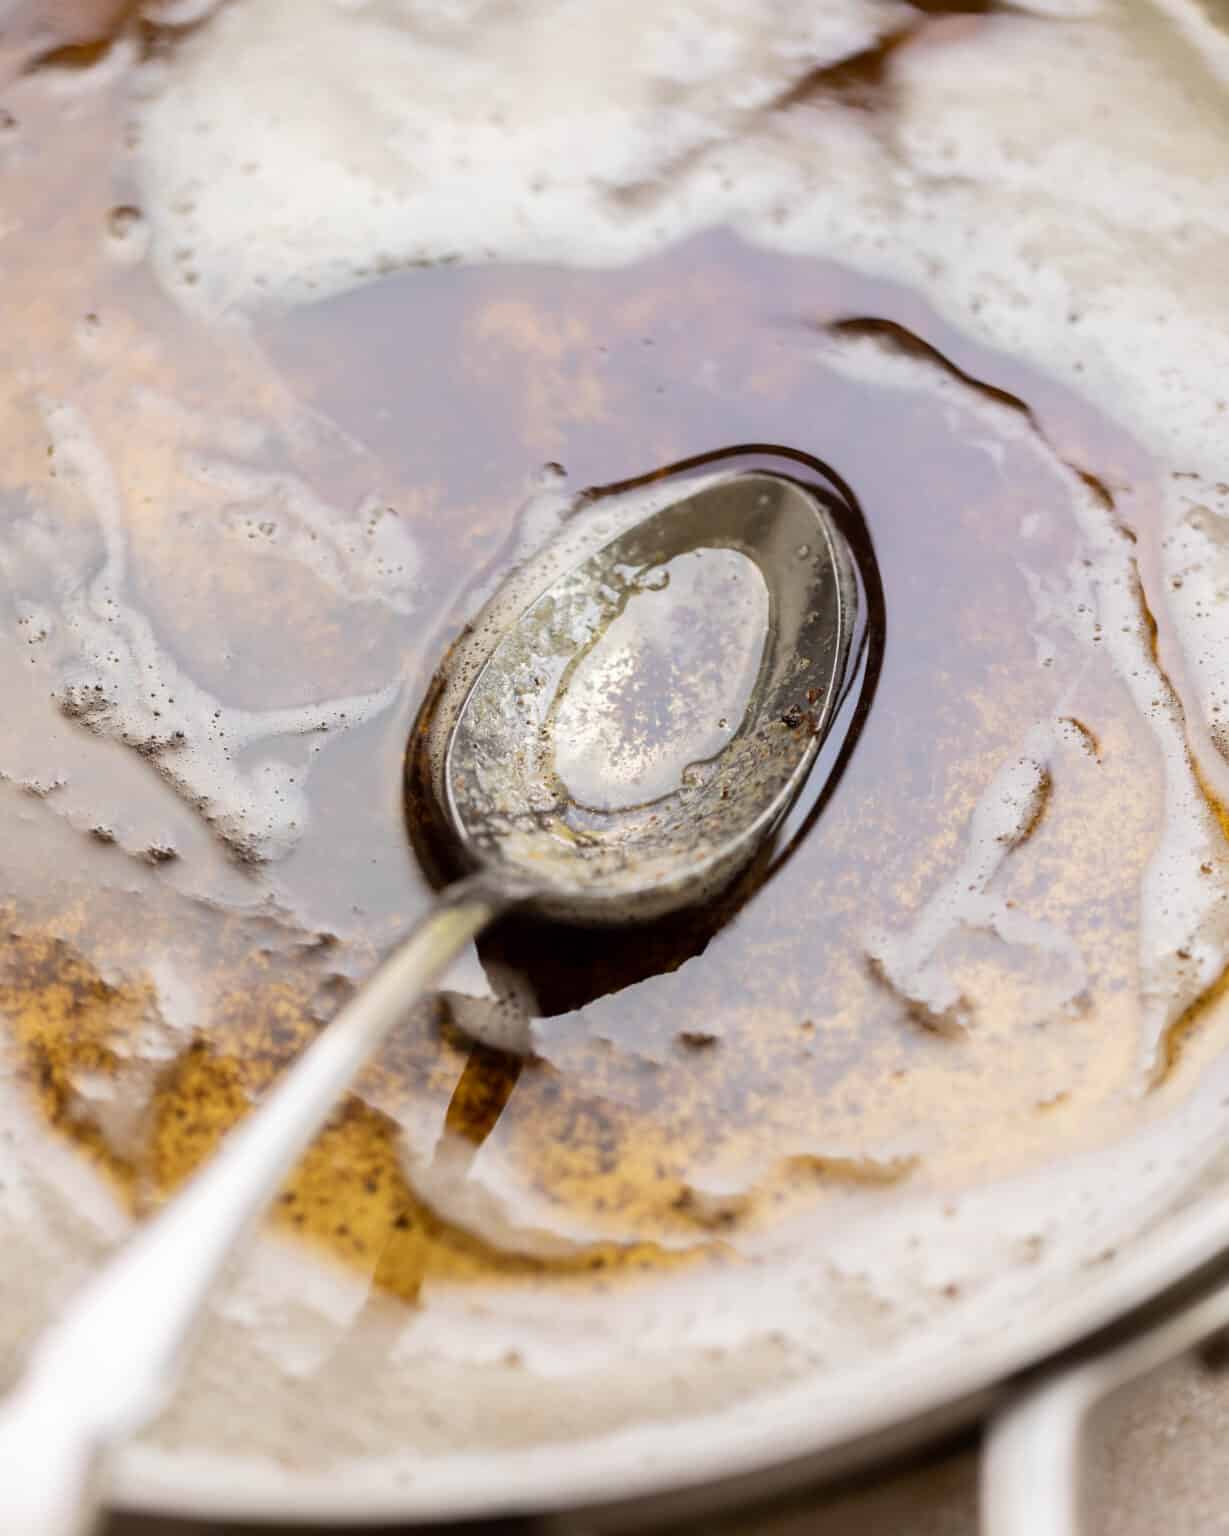
First, place the stick of butter in a pan over medium-low heat. (I like to slice the butter so that it melts faster, but you don’t have to) As it melts, it will start to bubble because butter has liquid in it. The steam is just the water evaporating (like we talked about a little earlier).
Melt until foamy and brown bits appear on the bottom of the pan, stirring constantly. Use a silicone whisk or wooden spoon for the best results.
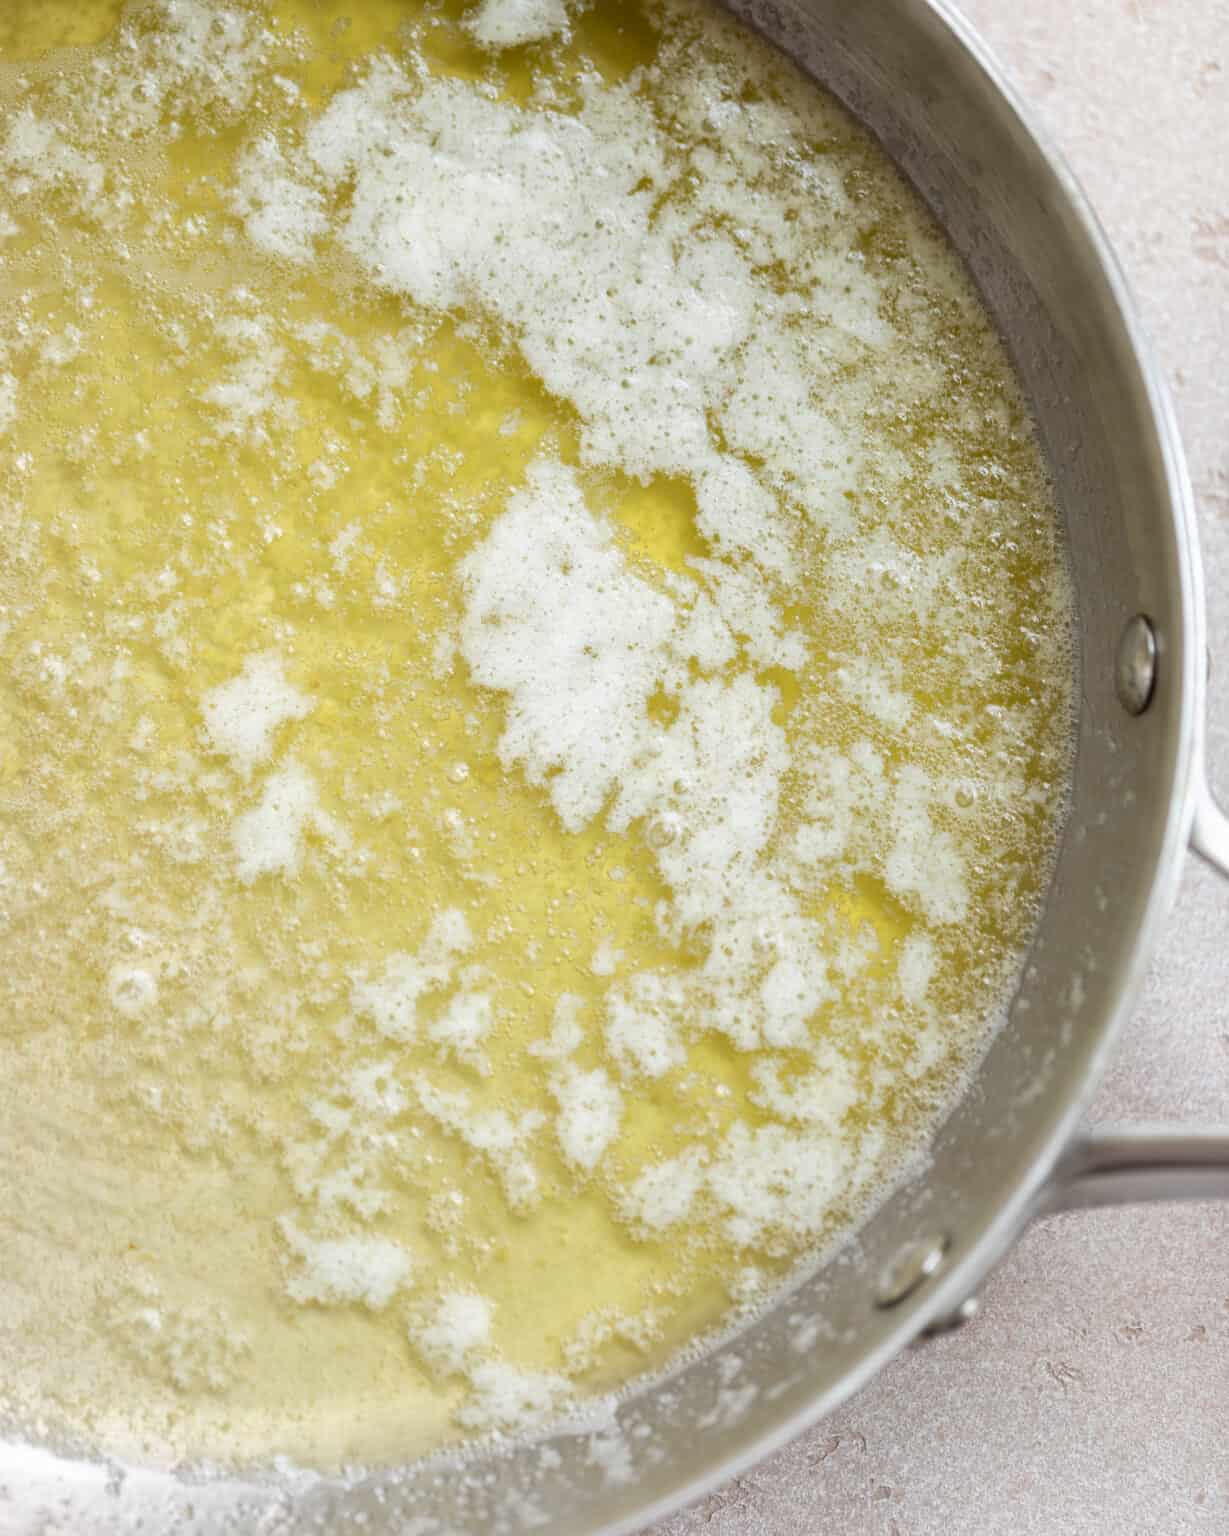
Do not stop heating and stirring until the butter has a deep brown color; not golden or black! By this point, you should start smelling a warm, nutty aroma.
Finally, remove it from heat and use it in your next recipe!
How long does it take?
It should only take 5-10 minutes but it varies depending on the heat level, the type of pan used, and the amount of butter.
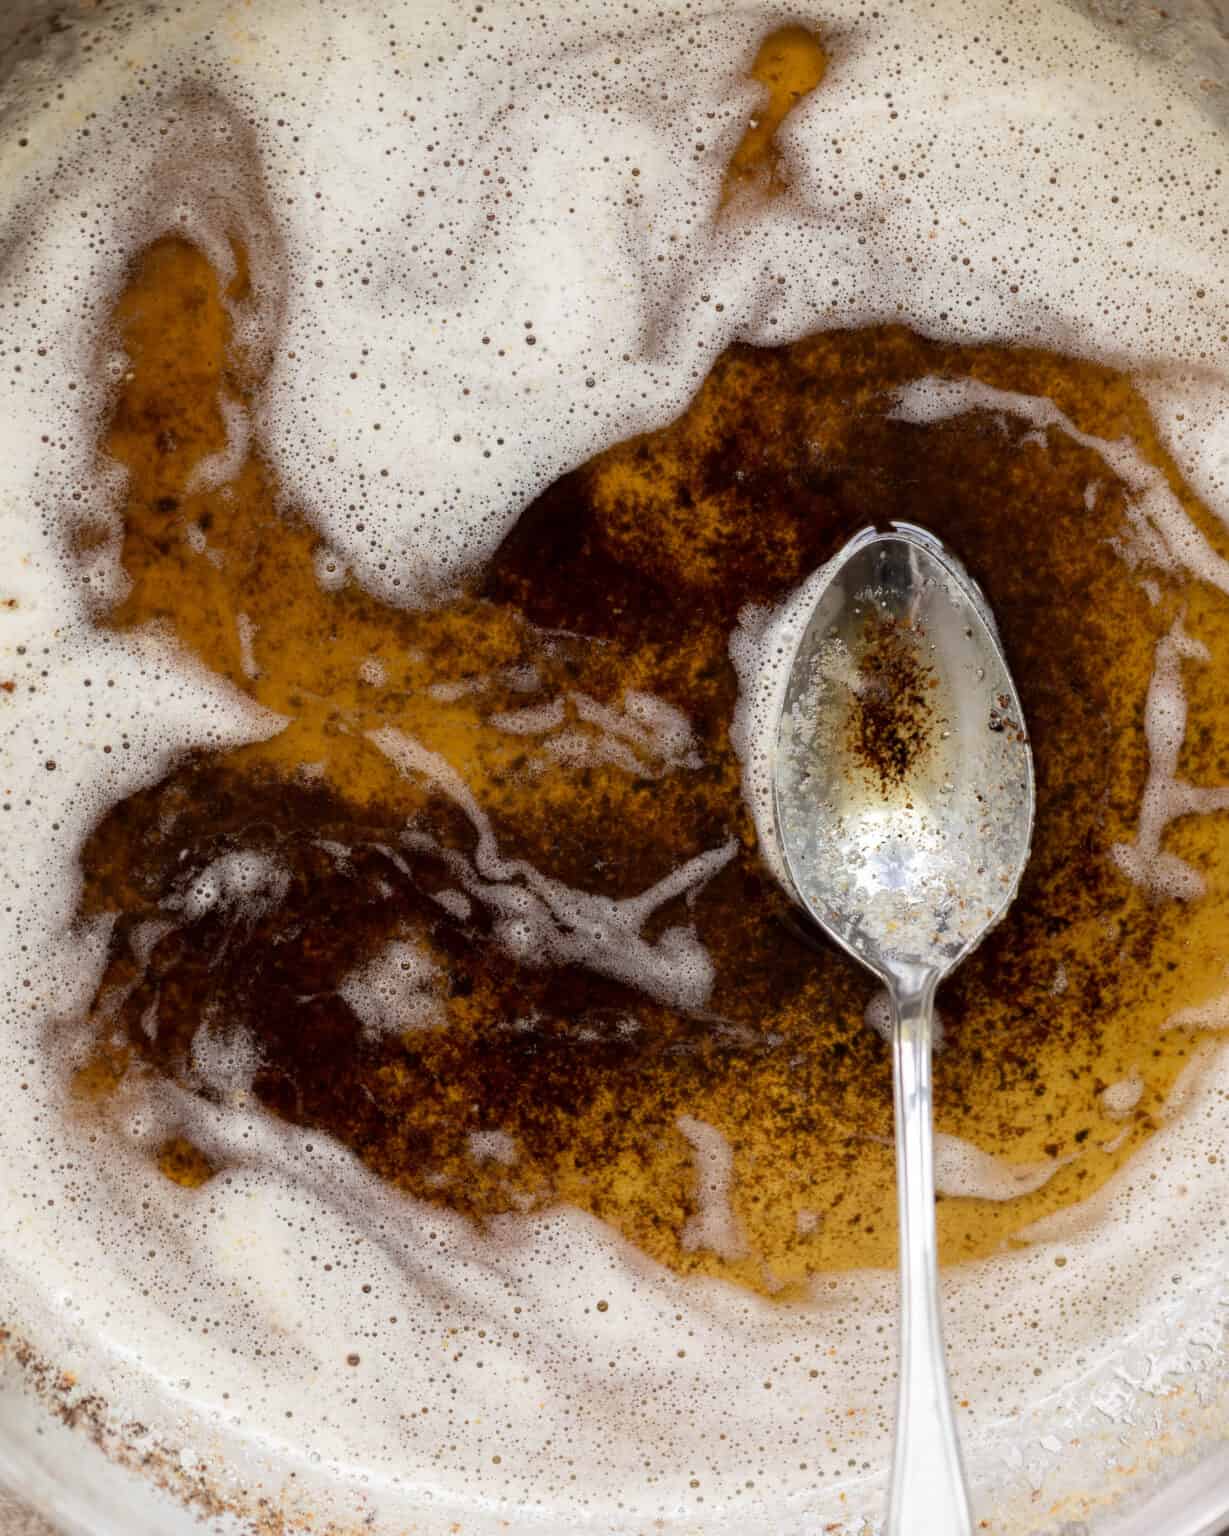
What are those brown specks in the butter?
Those brown specks are actually toasted milk solids. But, for all intents and purposes, they might as well be gold! They have so much flavor, so do not throw them away!
Do not strain them out and definitely don’t leave them in the pan to wash away later. Trust me when I say that you’ll want every bit of it!
Brown Butter vs Burnt Butter
Because this recipe is so quick, you can blink and suddenly your butter has burned. For that reason, it is important to not just keep an eye on the butter but to constantly scrape the bottom of the pan so those scrumptious bits don’t turn into burnt black bits.
Once the butter turns black, you have to dump it out and start over. It is bitter and definitely not appetizing.
Is brown butter just ghee?
Although you take similar steps to make both, they are different. Unlike brown butter, during the process of making ghee, the brown bits are strained and removed.
Those removed browned bits are milk solids. Without milk solids, ghee has a higher smoke point than brown butter. Ghee is also lactose-free and has a more clarified taste.
Tips
- For even heating, use a wide, sturdy, heavy-bottomed pan.
- Use a light-colored pan so you can see the butter turning brown.
- Slice the butter into chunks before cooking to save a little time.
- Keep an eye on the butter! When it starts to foam, watch for the brown specks to form and then remove from the heat.
- Be sure to get the nutty bits, they’re so full of flavor!
What is brown butter good for?
You can use it in any recipe that calls for butter so the possibilities are truly endless! You can use it on a spread for toast, pancakes, or waffles. It can also be used as the base for a delicious sauce for meats or veggies. Yet another idea is to use it to replace regular butter in baking.
Storing Leftovers
Brown butter can be made ahead of time. You refrigerate or freeze it in an airtight container. If you need it to be melted for a particular recipe, simply pop it in the microwave before use.

Recipes that Use Brown Butter
Sweet
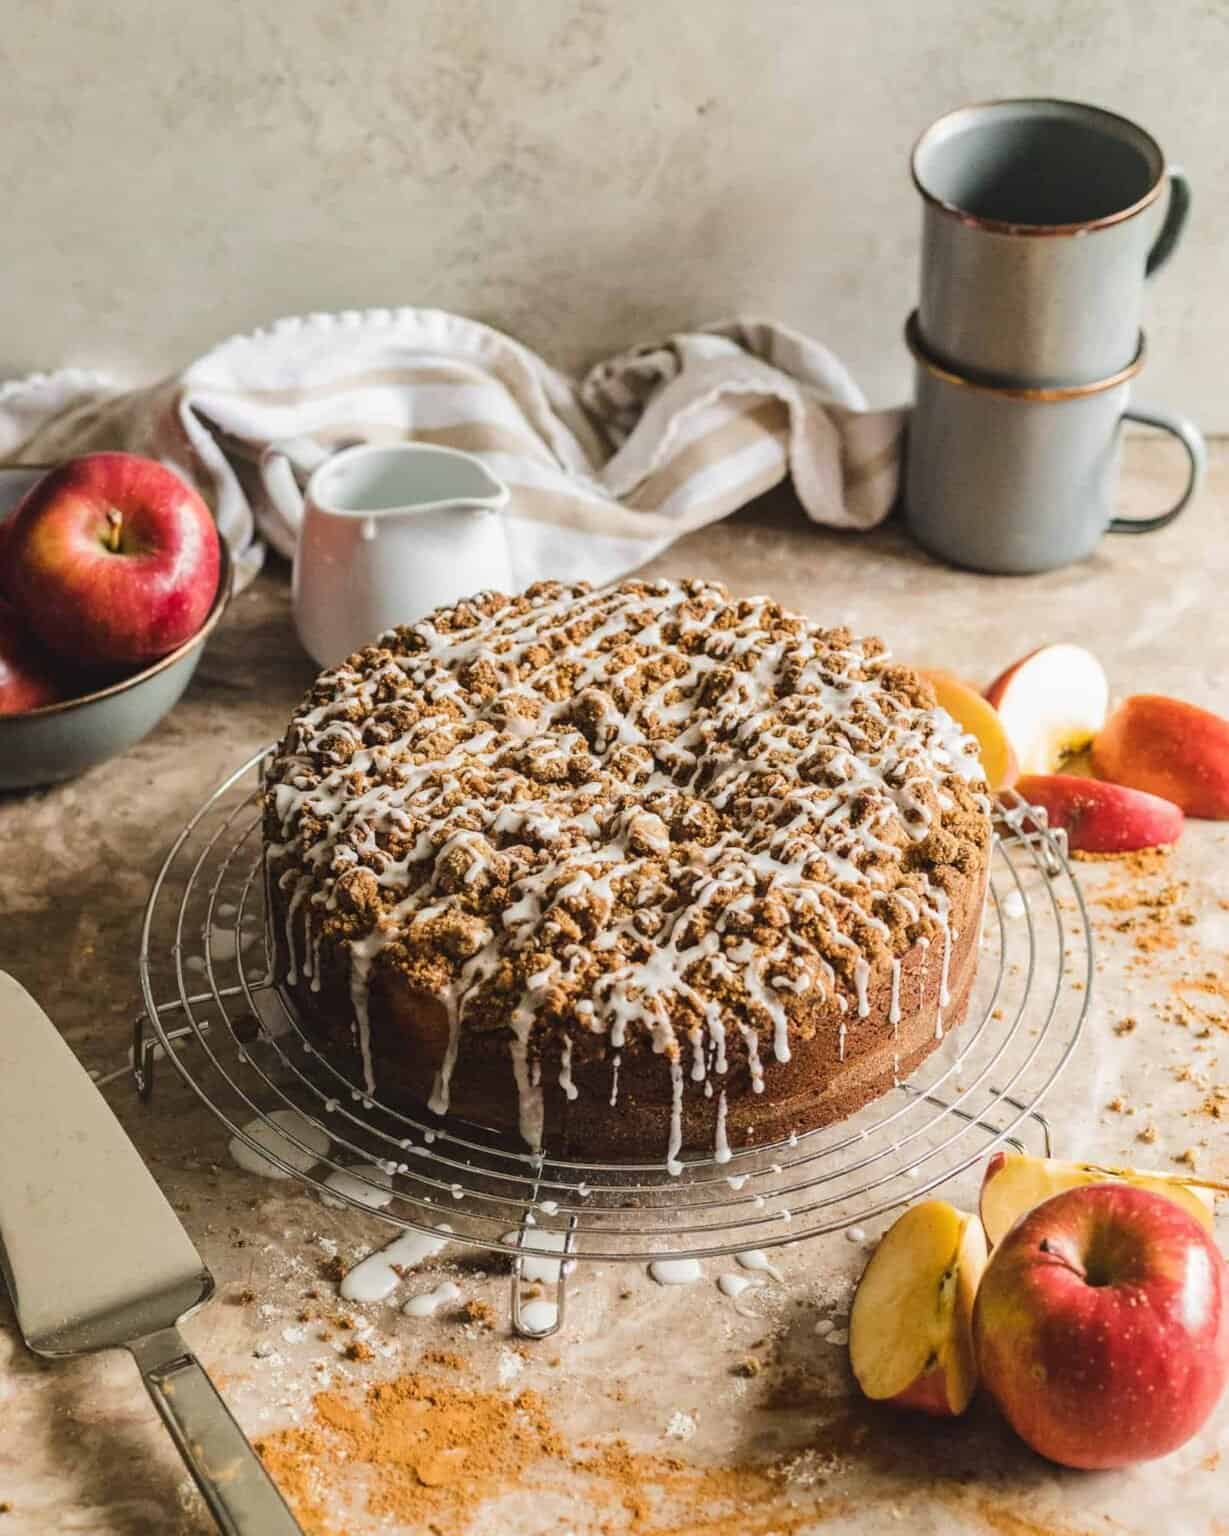
- Cinnamon Streusel Coffee Cake
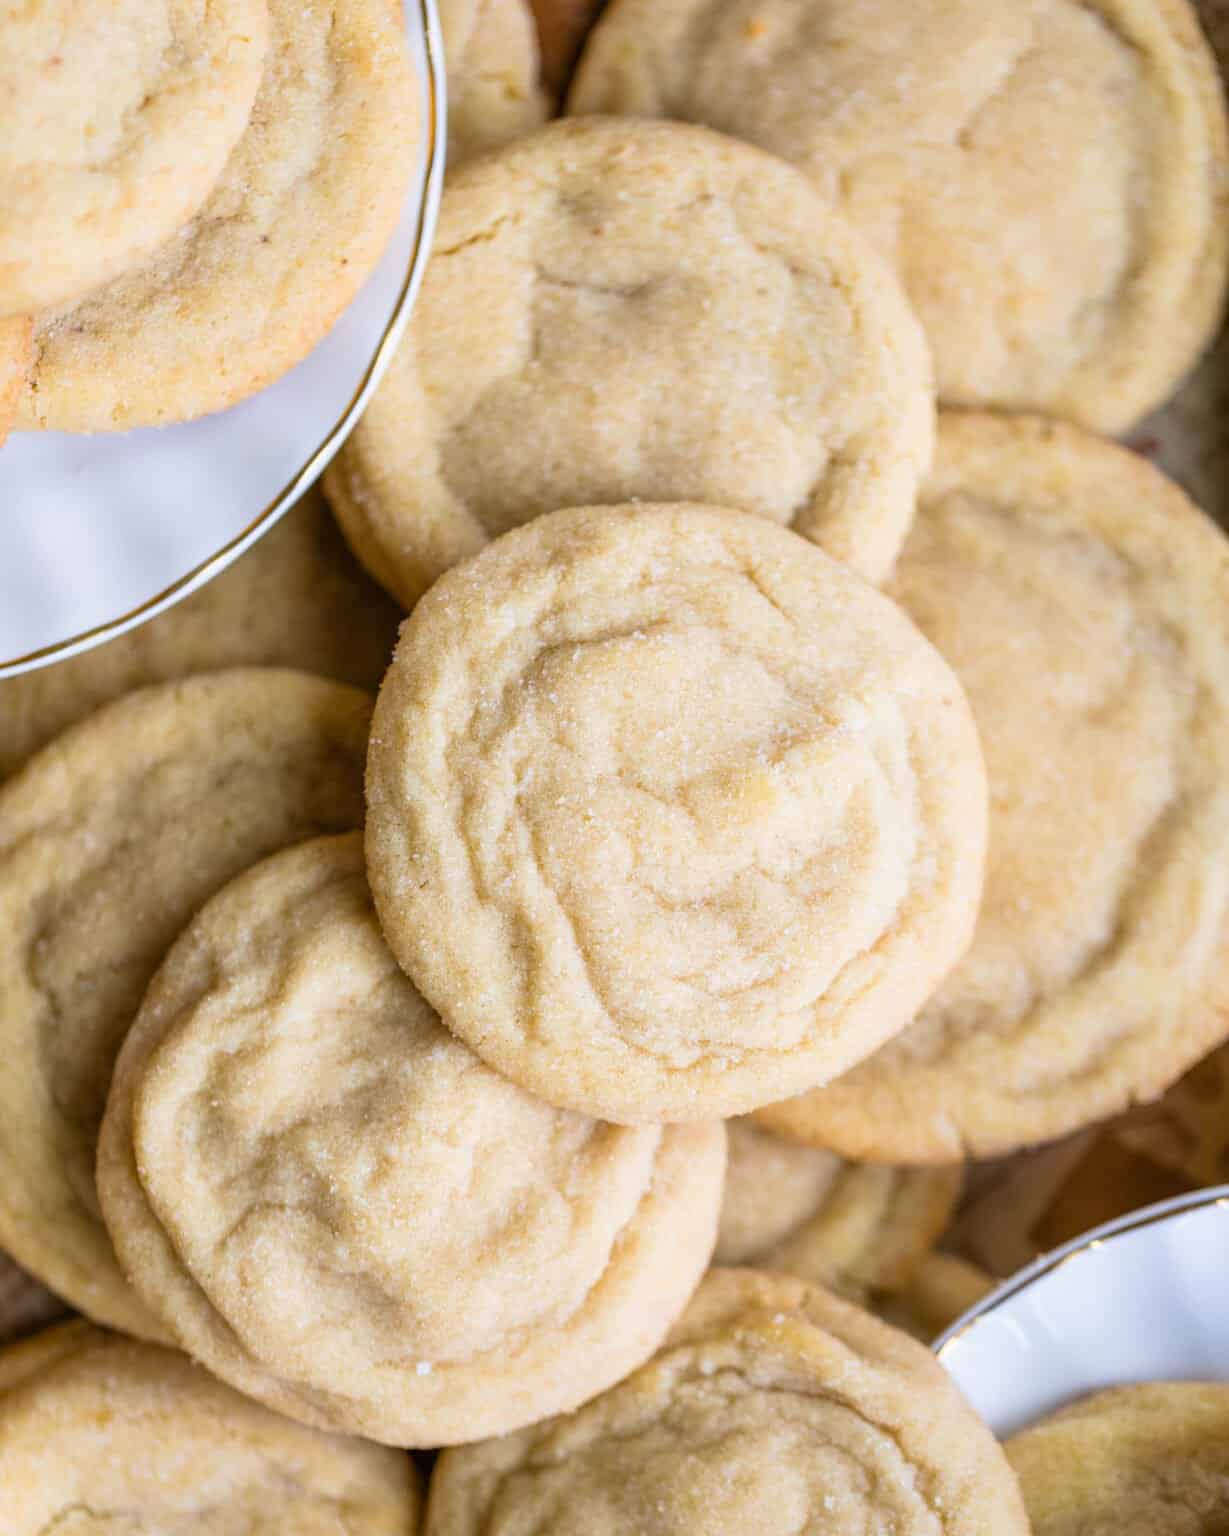
- Brown Butter Sugar Cookies
- Peanut Butter Cup Blondies
- Mixed Berry Crumble Bars
- Chai Cookies
- Waffles with Cinnamon Apples
- Pumpkin Bread with Frosting
Savory
LET’S STAY CONNECTED ON SOCIAL MEDIA! NEVER MISS A RECIPE BY FOLLOWING ME ON PINTEREST, FACEBOOK, AND INSTAGRAM!
Let’s stay connected on social media and continue to cook together! Also, if you decide to make this recipe, please leave a star rating on the recipe card and leave a comment below! Tag @BritneyBreaksBread on Instagram and hashtag #britneybreaksbread so I can see your creations! I hope that you love this recipe as much as we do!
How to Make Brown Butter

Equipment
- Pan/Skillet
Ingredients
- 1/2 cup Butter, unsalted
- 1 tbsp water, optional
Instructions
- Place the stick of butter in a pan over medium low heat.
- Melt until foamy and brown bits appear on the bottom of the pan, stirring constantly.
- Remove from heat and use for your next recipe.
- (optional) Add 1 tablespoon water to the butter and mix together if using browned butter as a substitute for regular butter in a baking recipe.
Nutrition
Nutrition information is automatically calculated, so should only be used as an approximation.


great recipes.