
This post may contain affiliate links. Please see our disclosure policy.
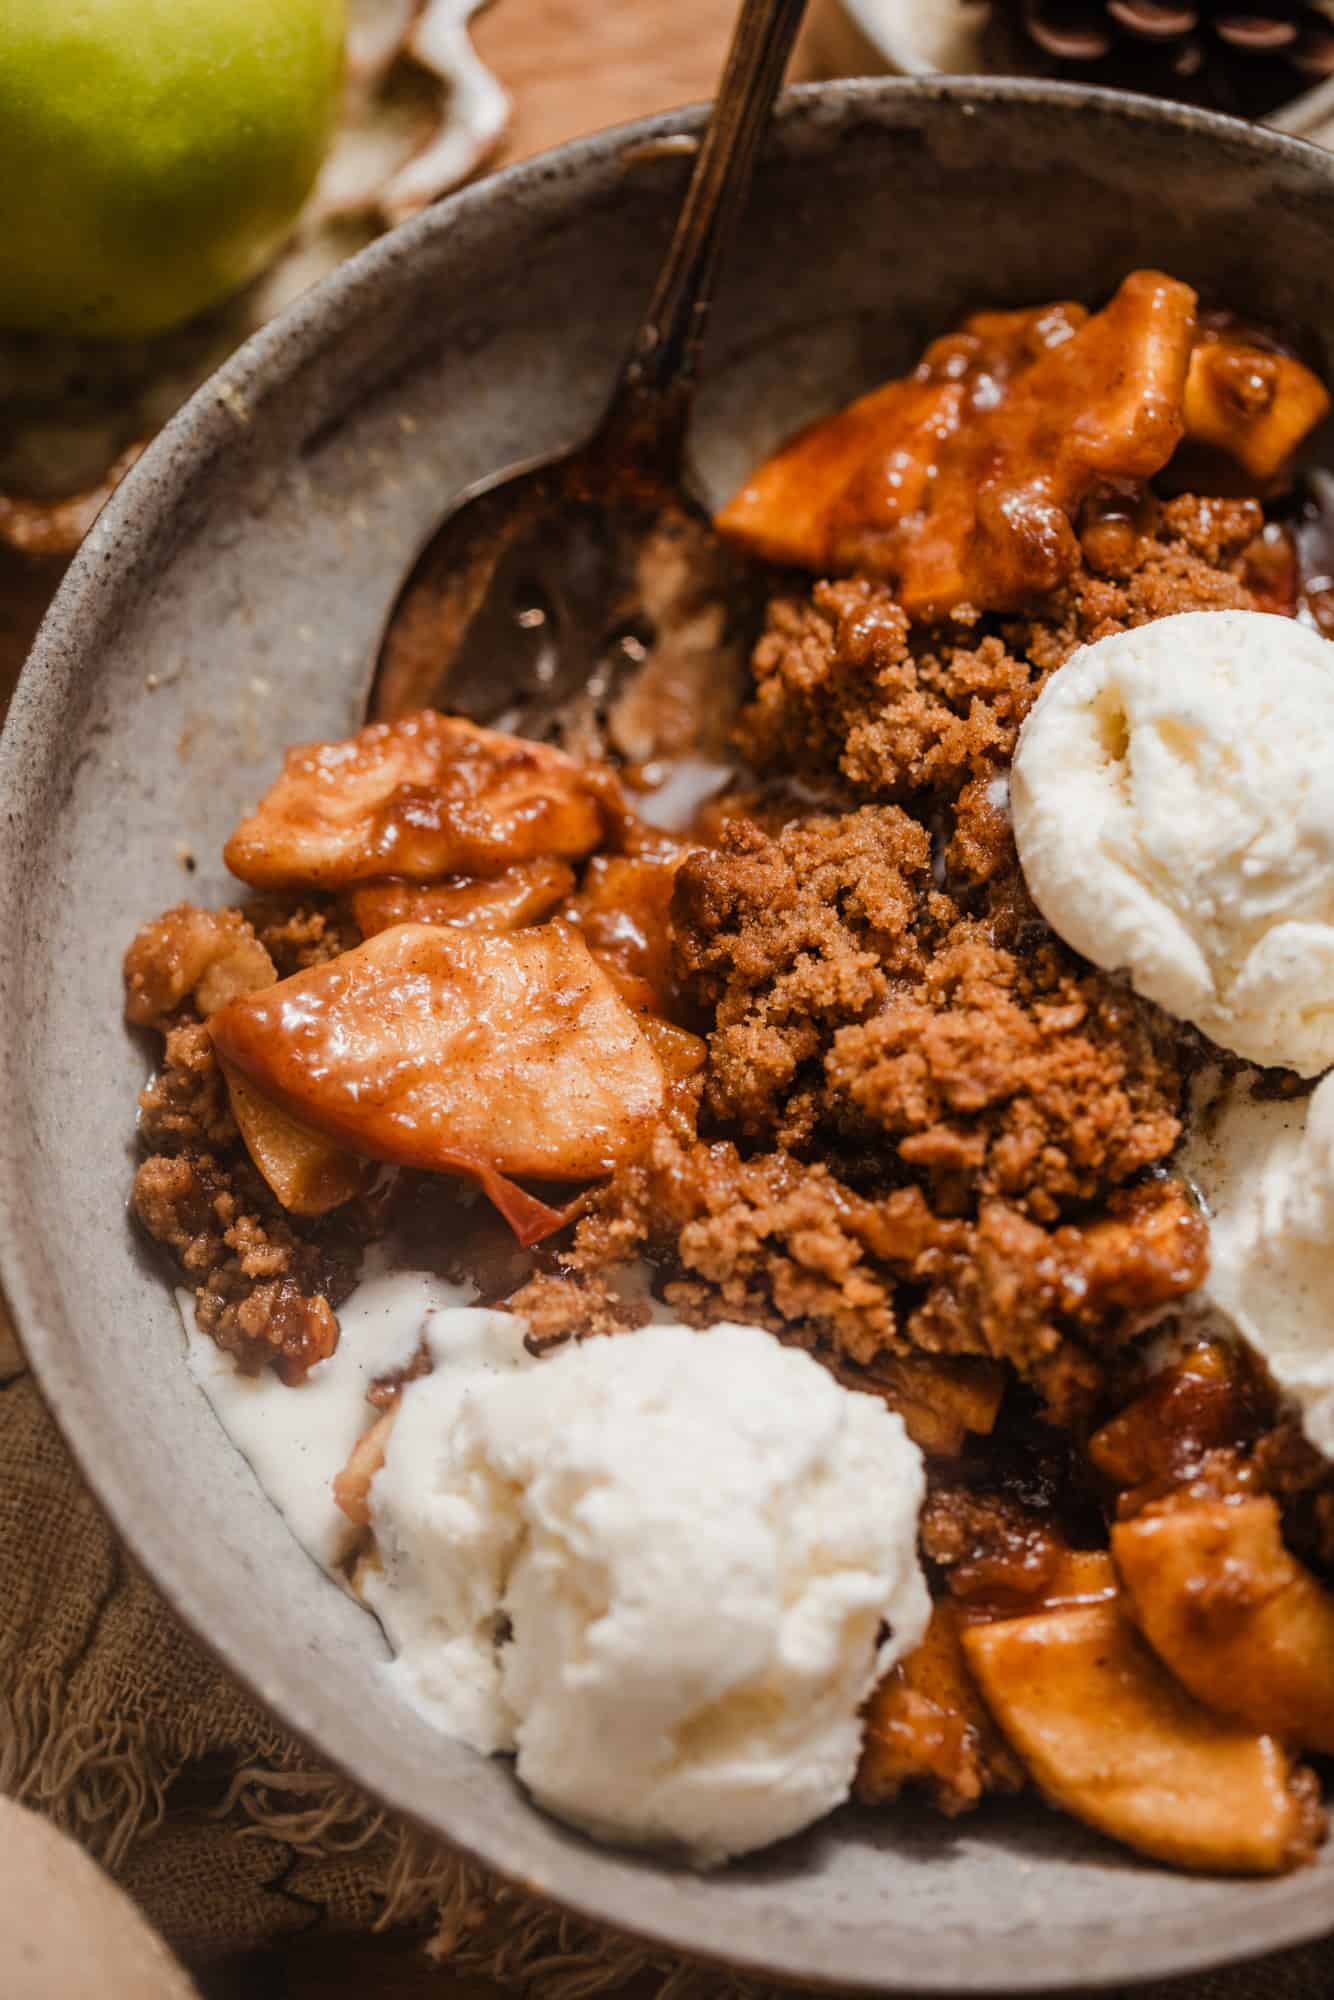
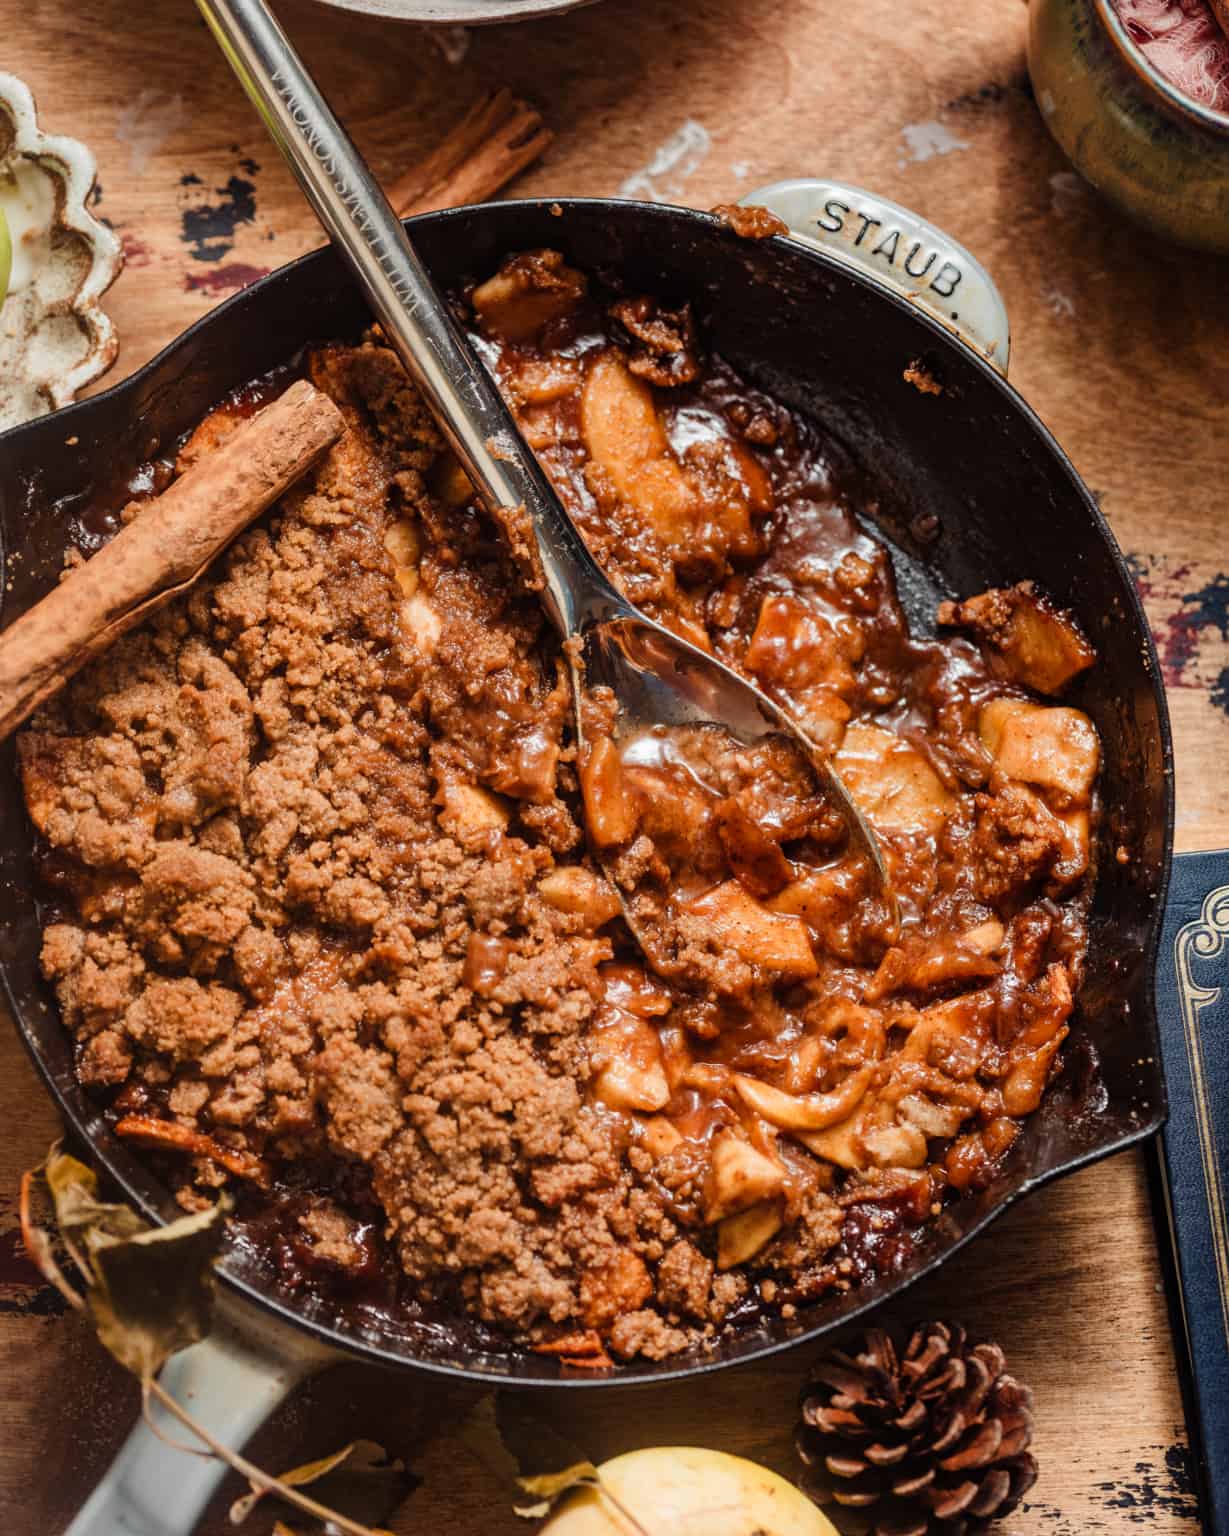
Imagine a warm, comforting spoonful of homemade apple crisp without oats straight out of the oven! As you take your first bite of this classic fall dessert, the buttery crumble topping with the tender apple filling give your tastebuds a treat! With only a few simple ingredients, this easy recipe comes together in no time.
Serve with a scoop of vanilla ice cream and a drizzle of salted caramel for the BEST apple crisp you’ll ever make!
For more apple dessert recipes, try my Salted Caramel Apple Crumb Cake and Apple Cider Cupcakes!
It’s officially that time of year where the leaves are turning brown, everyone is apple picking (myself included), and we’re all turning our ovens on to bake! What better way to use those leftover apples than to make a cozy and warm apple crisp? It’s easily my favorite fall dessert.
This apple crisp recipe is filled with warm spices and juicy baked apples then topped with an amazingly buttery crumb topping (the best part) – making this recipe the ultimate comfort food. I also added an extra touch of apple flavor by making an apple cider concentrate (it’s just boiled cider) that adds SO much apple flavor to this recipe.
Each bite is like a cozy autumn embrace.
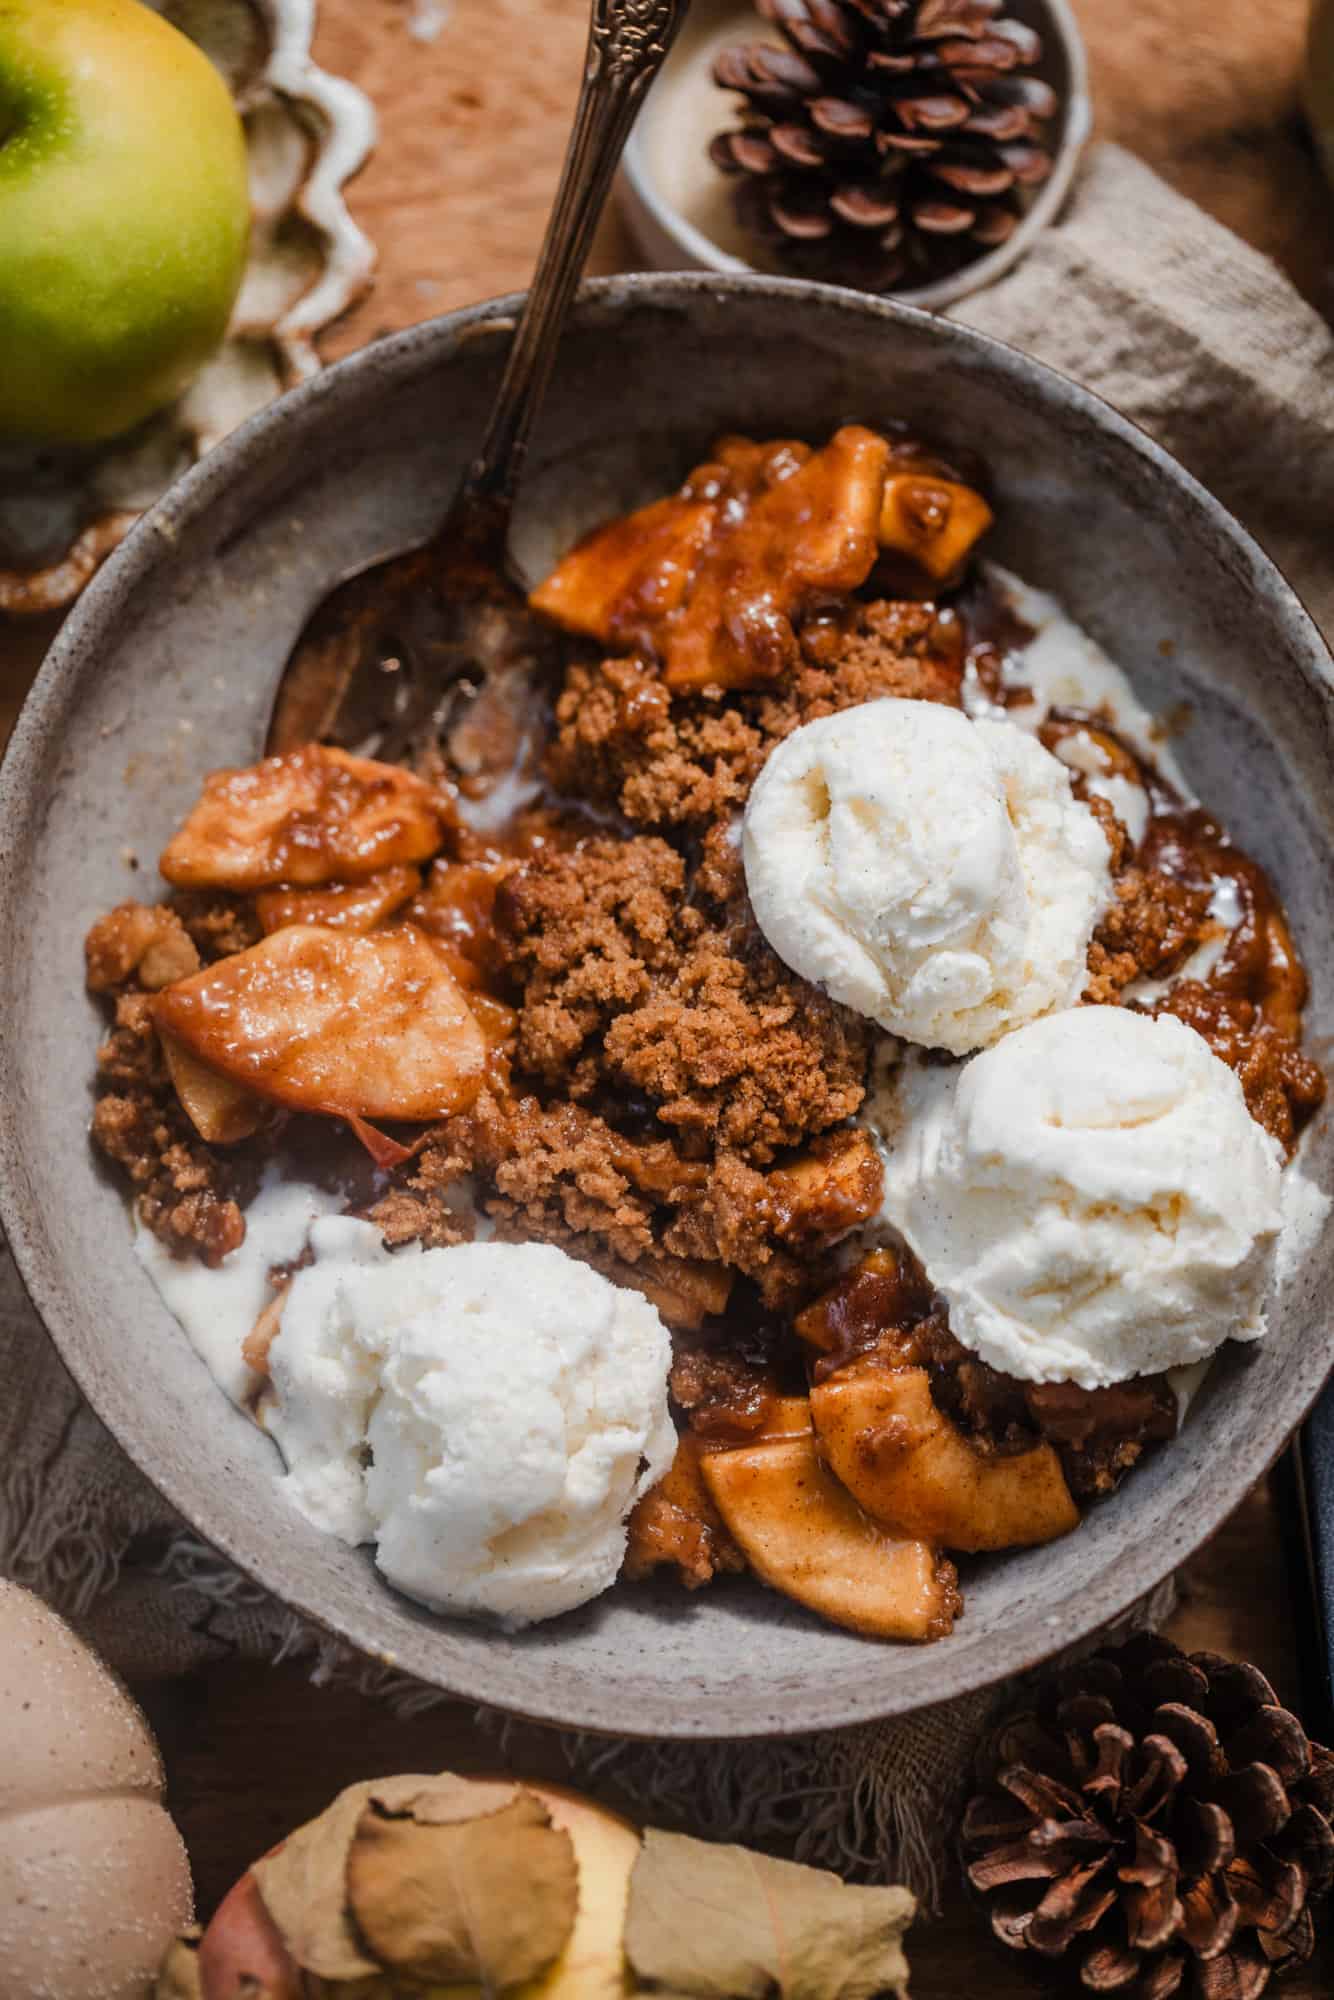
Celebrate apple season with this easy dessert and serve with a scoop of creamy vanilla ice cream and a little caramel sauce! The contrast between the warm, gooey center and the cold, velvety ice cream is pure bliss!
Table of Contents
Apple Crisp Ingredients
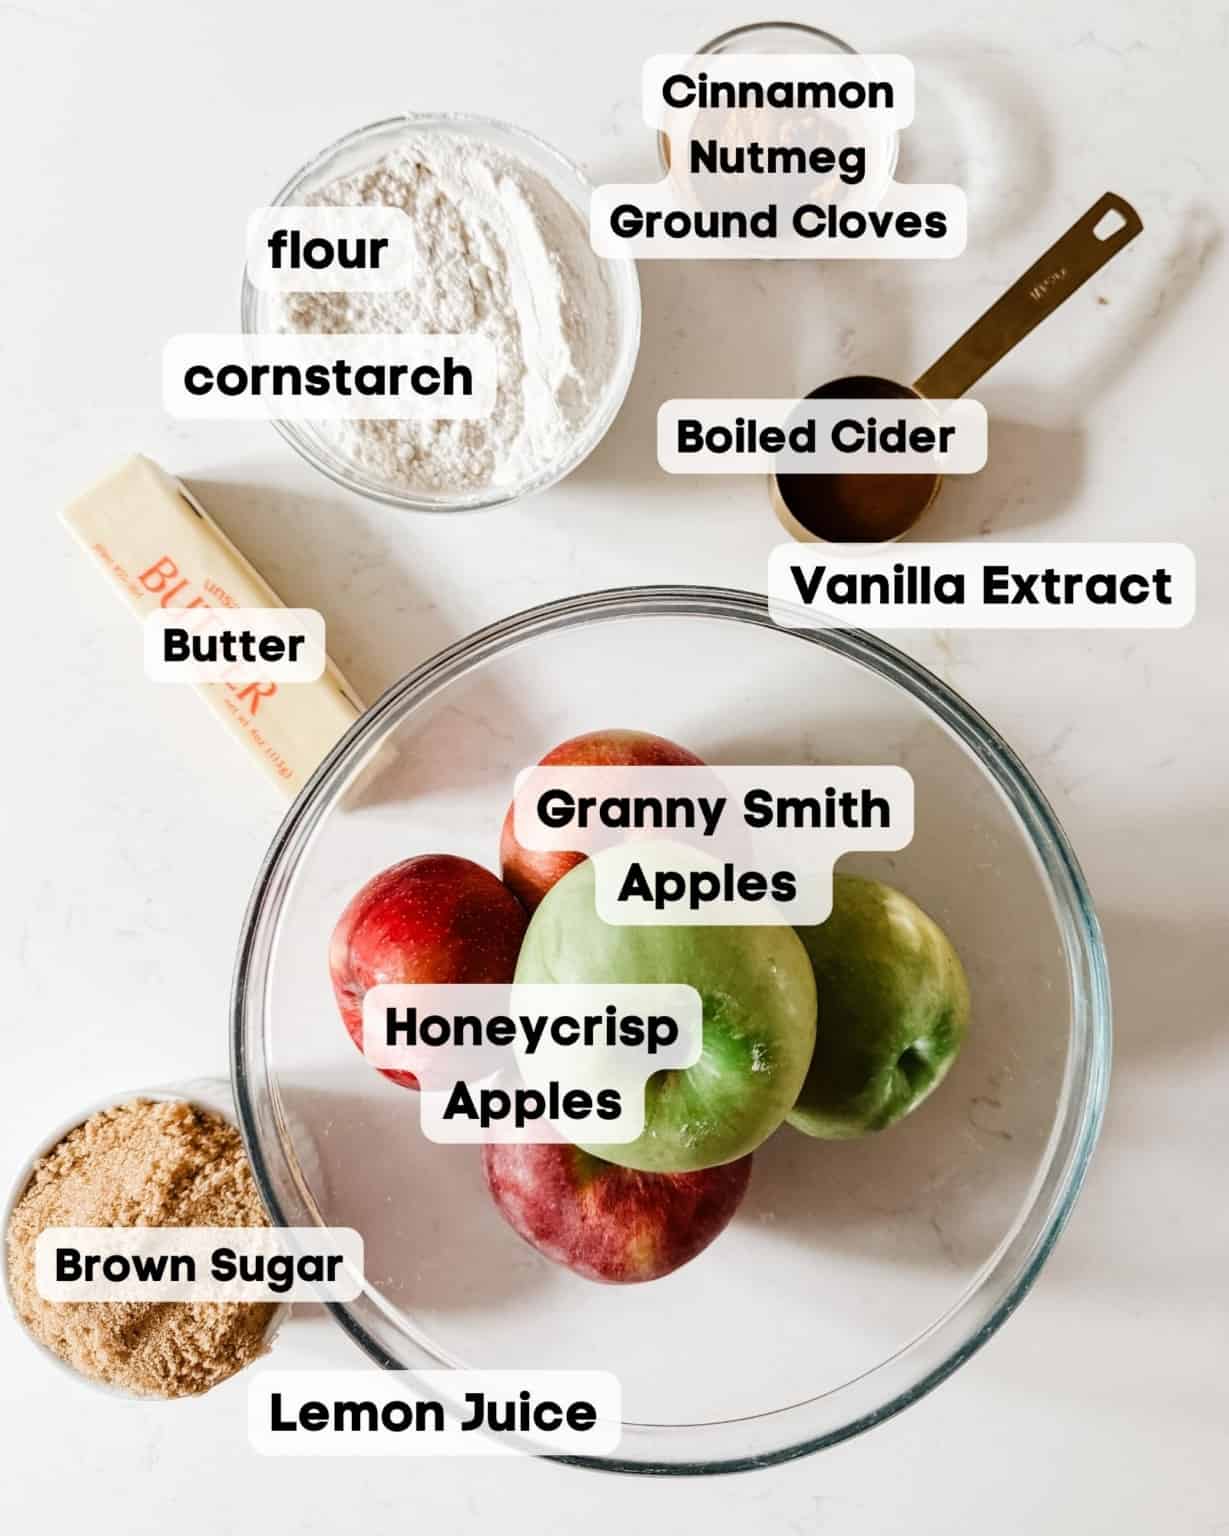
(full list of ingredients in the recipe card)
- Apples – I used a mix of granny smith apples and honey crisp apples. It’s a nice mix of sweet apples with a touch of tart flavor.
- Brown sugar – light or dark brown sugar work here.
- Warm spices – cinnamon, nutmeg, and ground cloves are the stars of this show. It’s basically apple pie spice. They adds a touch of spice that plays up the flavors of the baked apples.
- Lemon juice – this just helps to draw the juices out of apples as well as add a touch of acidity to balance out all of the sweetness.
- Apple cider – we’re going to boil apple cider down to create a concentrate (kinda like making apple cider donuts) – this adds a depth of flavor that is simple unparalleled. The added apple flavor makes this the most delicious apple crisp EVER. It’s an extra step but so so worth it.
- Cold butter – it’s so important to use cold butter! This is what makes the topping nice and crisp!
- All purpose flour binds everything together for the apple crumble topping.
Variations
- Add maple syrup for a little maple flavor. You may want to reduce the amount of sugar or replace it entirely to avoid the crisp from becoming too sweet.
- Mixed Fruit Crisp: Combine apples with other fruits like pears, berries, or peaches to create a mixed fruit crisp. The combination of different fruits adds complexity to the flavor.
- Caramel Apple Crisp: Drizzle caramel sauce over the apple filling before adding the topping. This creates a gooey, caramelized layer that pairs wonderfully with the apples.
- Gluten-Free Apple Crisp: Use gluten-free flour and a gluten-free granola for the topping to make a delicious gluten-free version of apple crisp.
- Vegan Apple Crisp: Substitute plant-based butter (like coconut oil) and non-dairy milk (such as almond or soy milk) for a vegan-friendly apple crisp. Ensure the granulated sugar is also vegan-friendly if needed.
How to make Apple Crisp
Add apple cider to a saucepan over high heat. Boil until the cider is reduced to a 1/4 cup, about 20-25 minutes. Pour into a heat safe container and allow it to cool.
Preheat the oven to 350 degrees f. Grease a 9-inch cast iron skillet or 9×13 baking dish with butter.
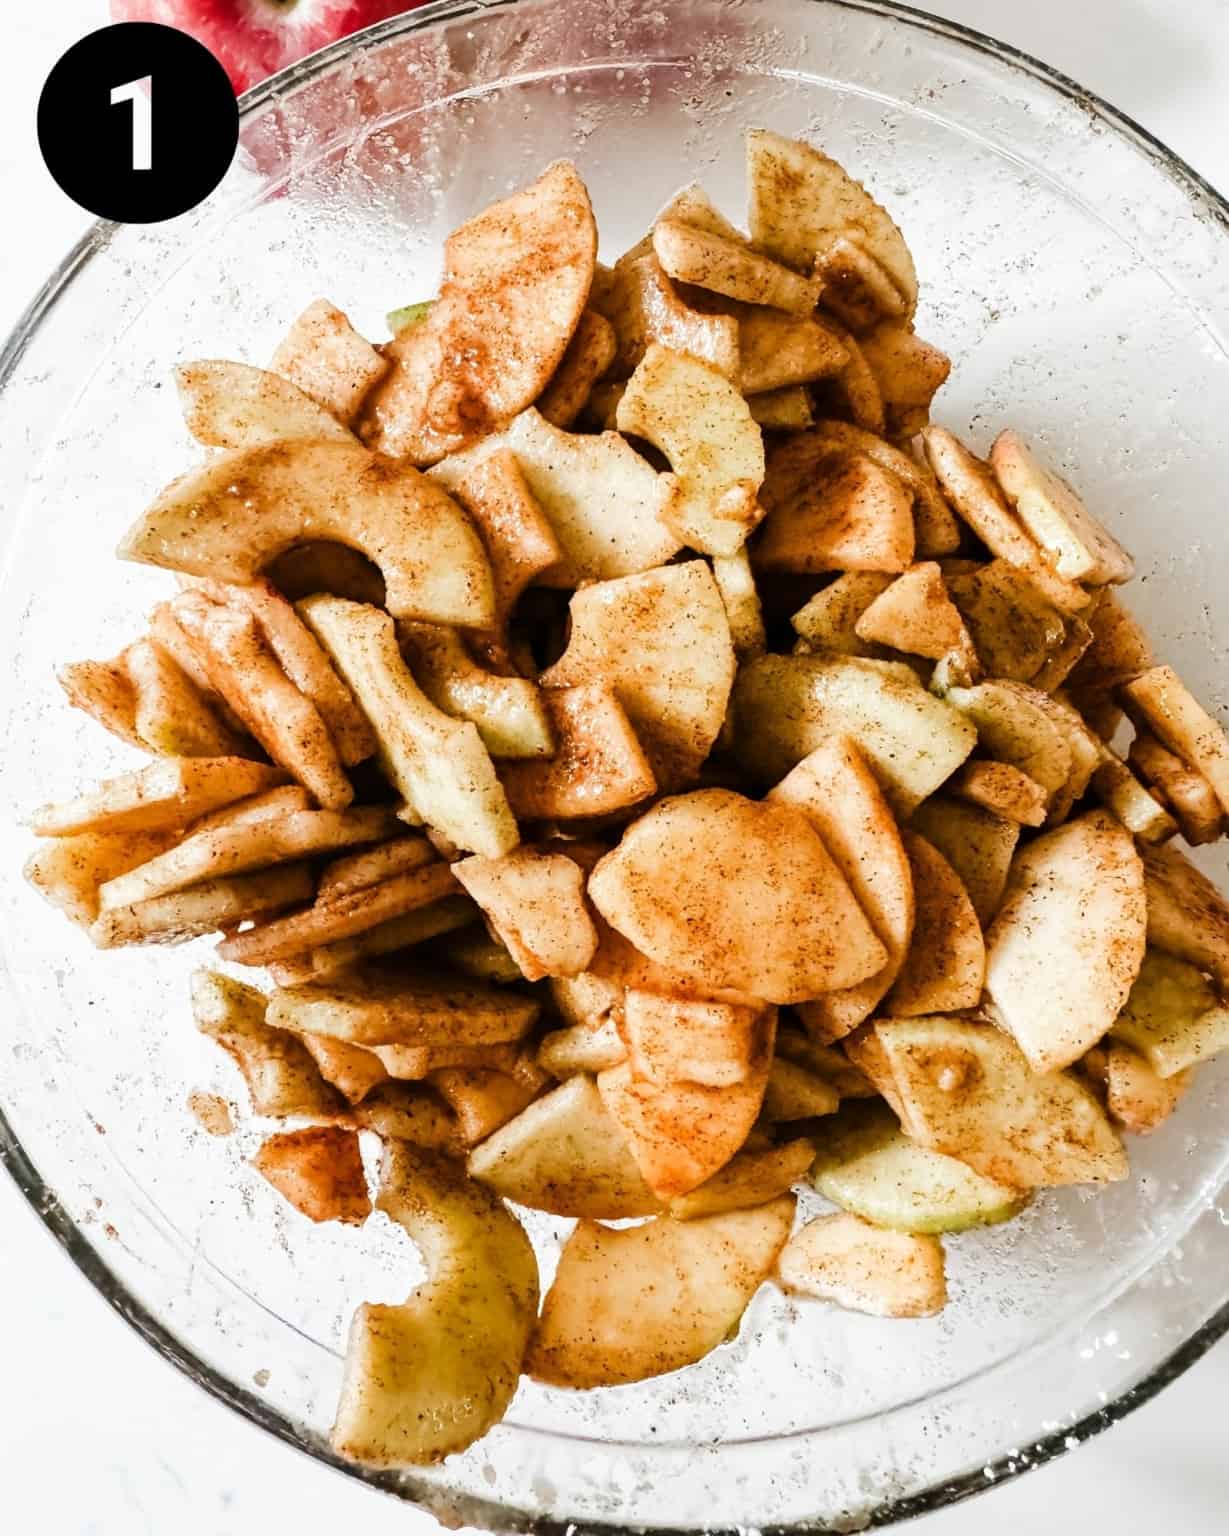
Step 1: Peel, core, and slice the apples into bite sized chunks (about 1/4 inch slices) and place in a large bowl. Add lemon juice, vanilla extract, brown sugar, spices, apple cider concentrate (boiled cider from above), and cornstarch. Toss together to coat and add to your prepared baking dish.
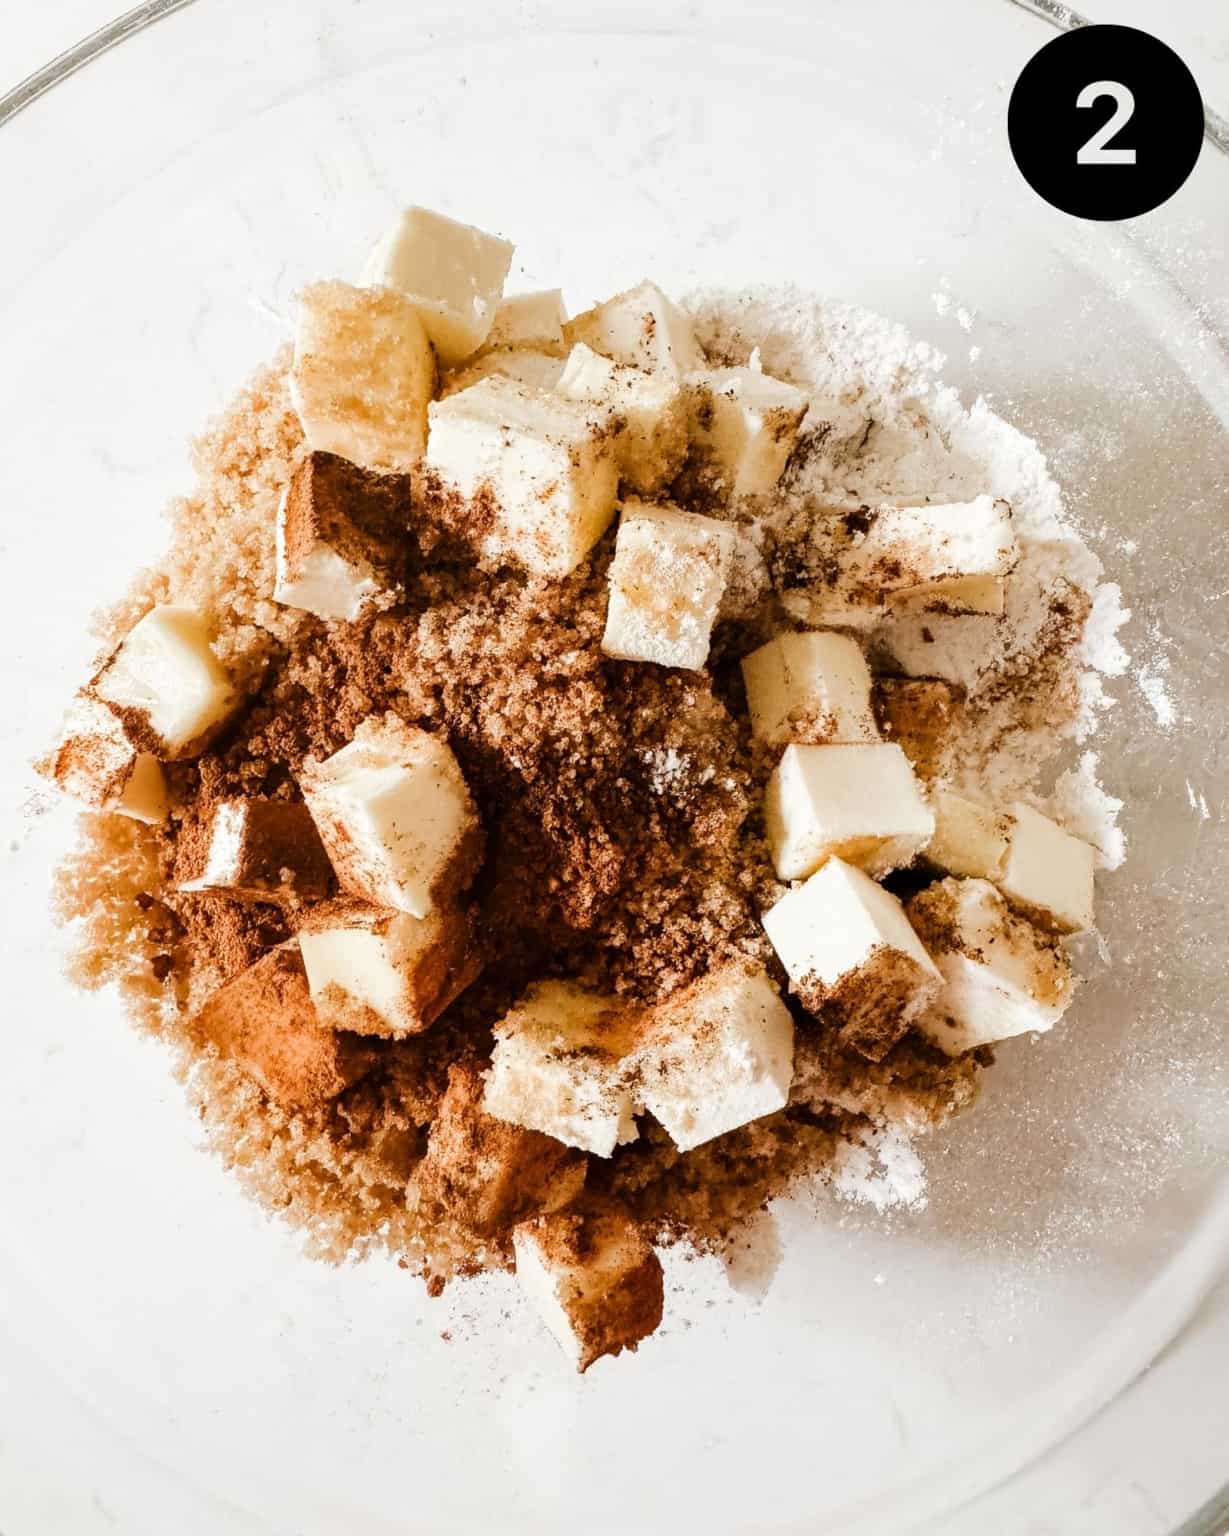
Step 2: While the apples are sitting, Prepare the crisp topping by mixing together flour, cinnamon, and salt. Then add in the cold butter.
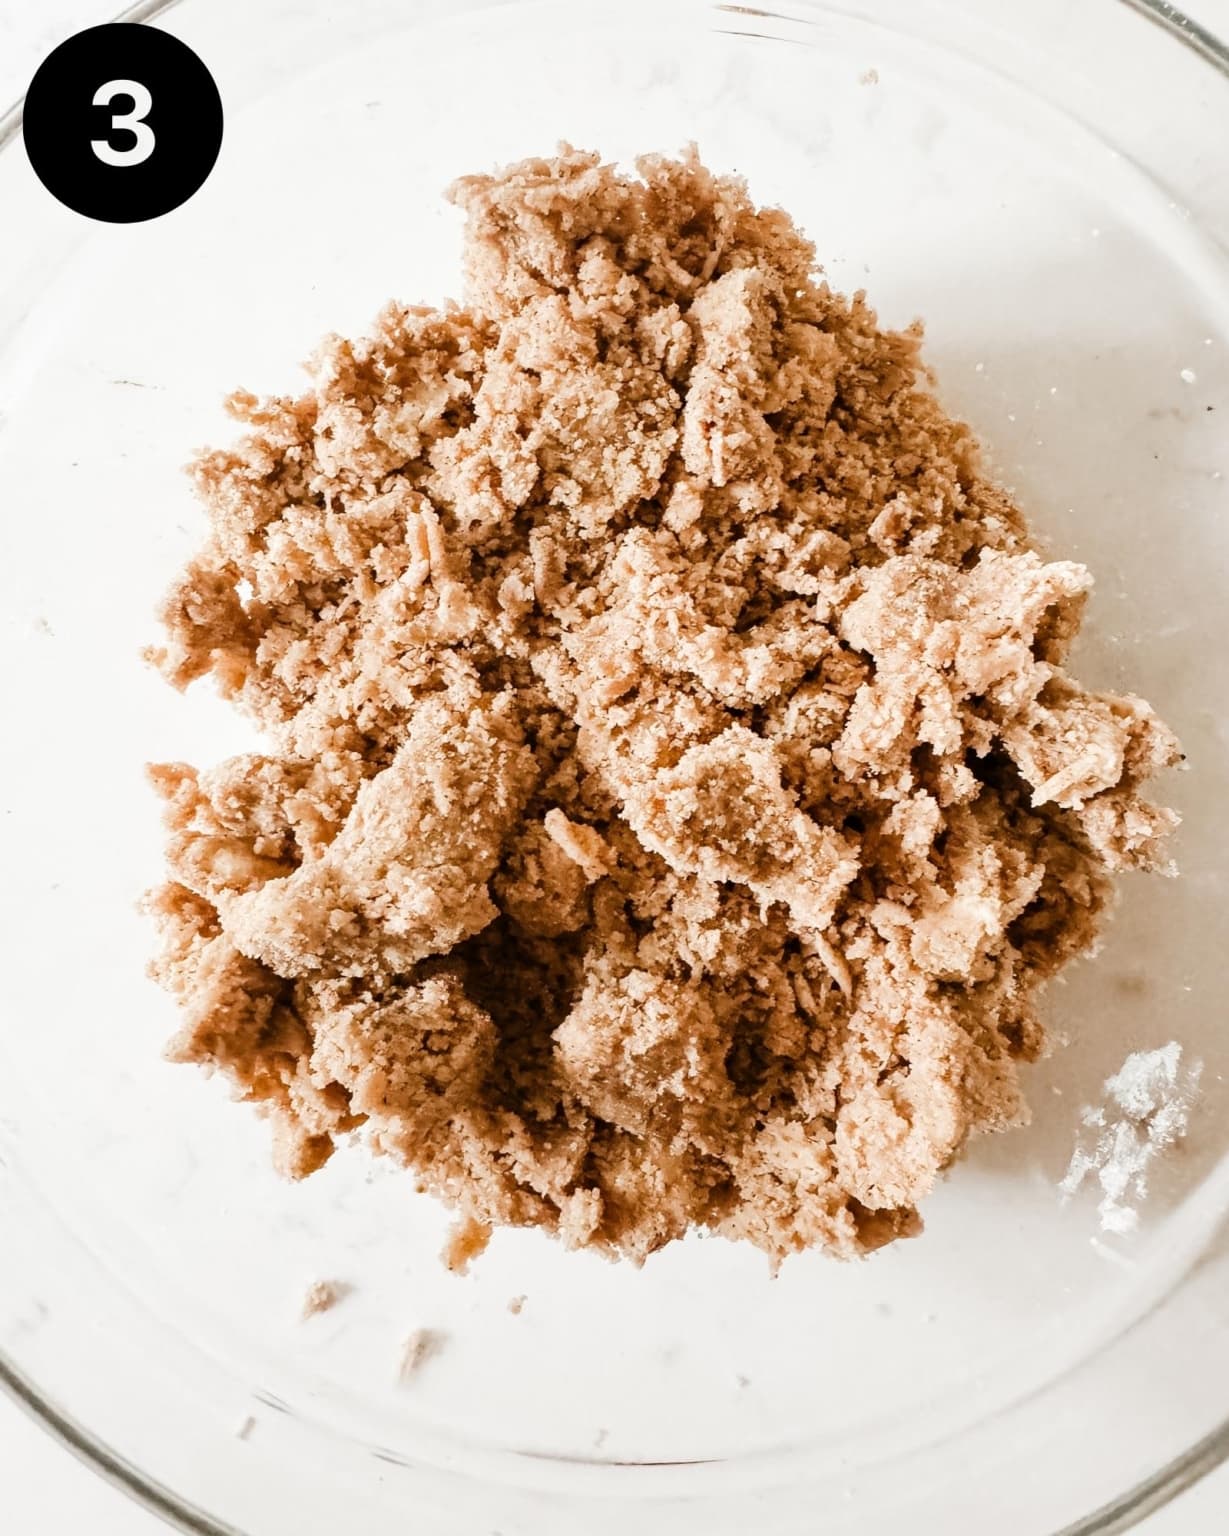
Step 3: Pinch together (you can also use a pastry cutter or food processor) until crumbles begin to form and the butter is completely mixed into the flour.
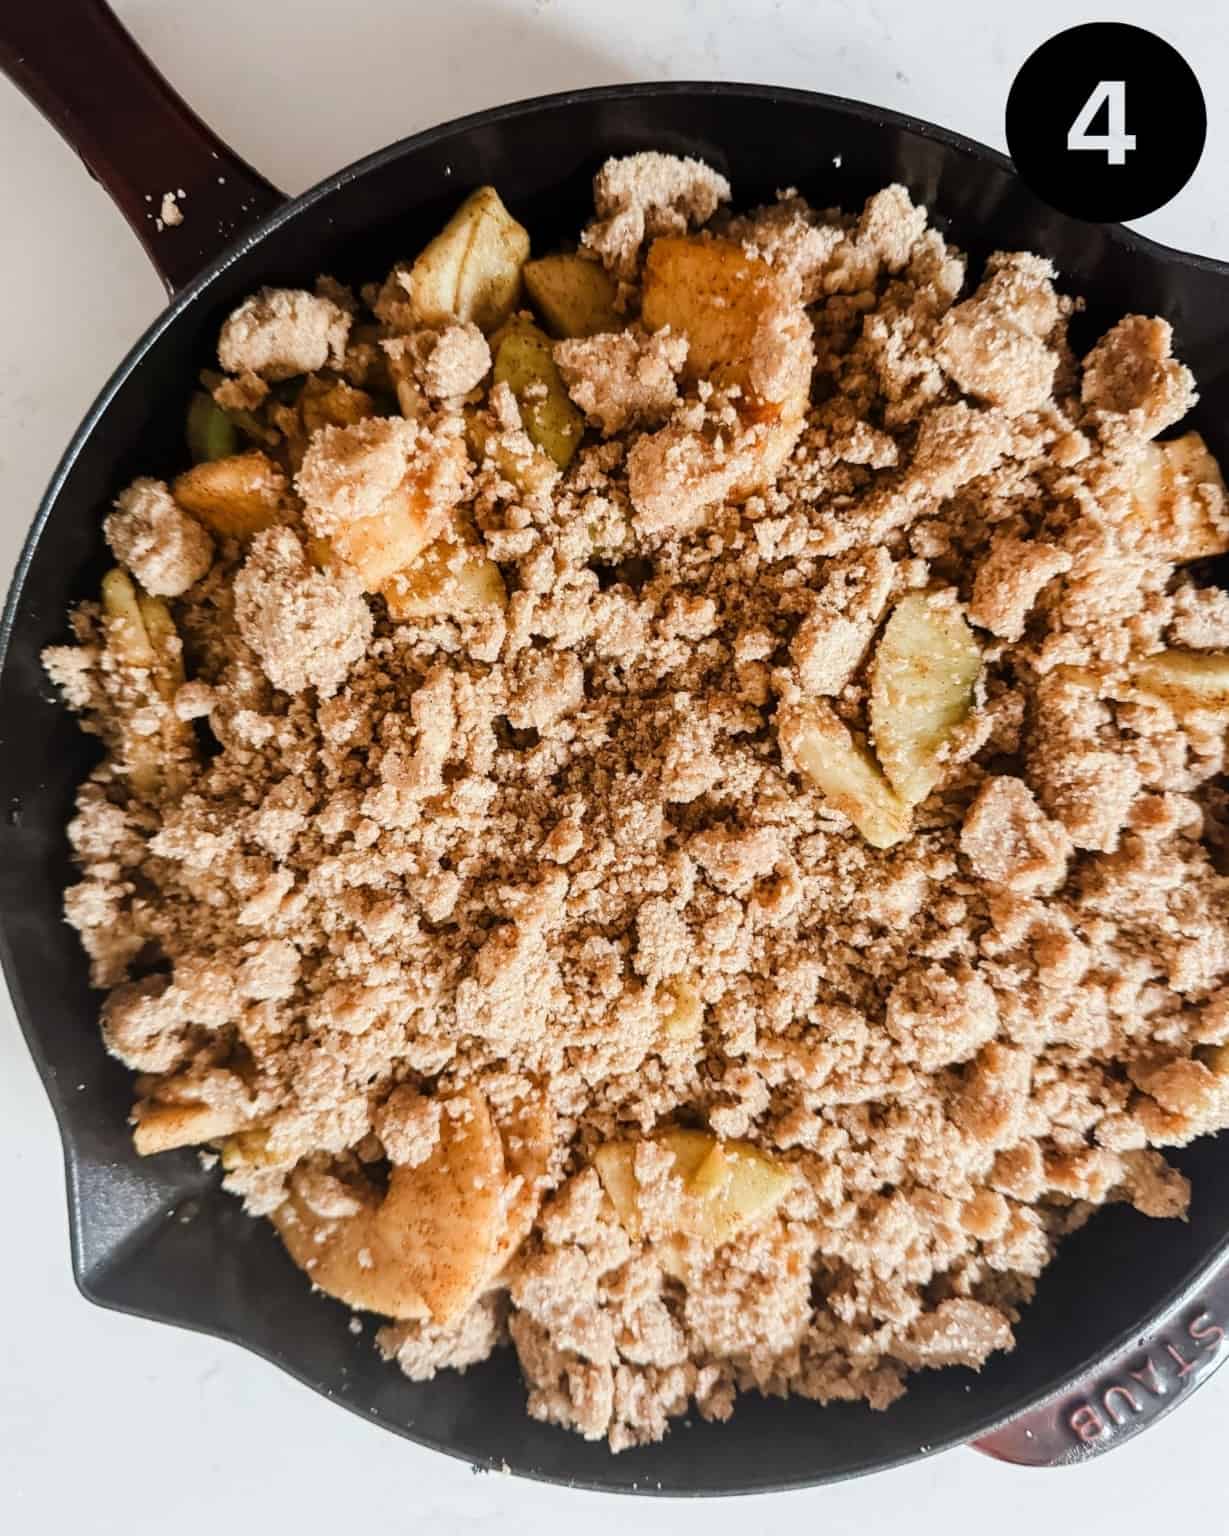
Step 4: Sprinkle the crumbly topping on top of the apple mixture. Bake for 40-45 minutes, until the topping is golden brown and the fruit filling is bubbly and soft. Allow the apple crisp to cool for 10-15 minutes before serving.
Pro Tips
- Choose the Right Apples: Select apples that are firm and slightly tart for the best results. Varieties like Granny Smith, Honeycrisp, Jonagold, or Braeburn work well because they hold their shape and provide a balance of sweet and tart flavors.
- Use Cold Butter: Cut the cold butter into small cubes and incorporate it into the topping mixture until you have coarse crumbs. This helps create that sought-after crumbly texture.
- Rest Before Serving: Allow the apple crisp to rest for a few minutes after taking it out of the oven. This helps the flavors meld and prevents you from burning your tongue on hot apples.
- Serve with Toppings: Apple crisp is delicious on its own, but you can also serve it with a scoop of vanilla ice cream, a dollop of whipped cream, or a drizzle of caramel sauce for an extra indulgent treat.
How to store Apple Crisp
Allow the apple crisp to cool completely (should be room temperature). This helps prevent condensation from forming inside the storage container. Once the apple crisp is cool, cover it with plastic wrap or aluminum foil, or transfer it to an airtight container. Store the covered or sealed apple crisp in the refrigerator for up to 3-4 days.
You can also place in the freezer for up to 3 months.
How to re-heat apple crisp:
When you’re ready to enjoy your leftover apple crisp, you can reheat it to restore its warm, crispy texture. Here are two common methods:
- Heat in the oven uncovered at 325 degrees f, until warm throughout – about 15-20 minutes. (recommended)
- Place in the microwave for about one minute. (this method is the fastest but the topping tends to get a little mushy)
Recipe FAQs
It can sit at room temperature for 24 hours, however, if you plan to consume it past that point, it’s best to place in an airtight container in the refrigerator.
Yes! And it’s just as good as recipes that require oats. You still get the crisp streusel topping without sacrificing that crunchy texture!
The best apple varieties for making apple crisp are those that will hold their shape well during baking – because we’re not making apple sauce!
Granny smith and honeycrisp apples are my go to apples for apple crisp. Jonagold, pink lady, cortland, braeburn, and empire apples are all great options too! I recommend staying away from gala apples, fuji, golden delicious apples, and red delicious apples are these will become mushy in the oven when baking.
More Apple Recipes
- Apple Pie filling
- Upside Down Apple Crisp Cake
- Salted Caramel Dutch Apple Pie
- Fried Apple Rings
- Honeycrisp Apple Fritters
- Apple Hand Pies
- Easy Cinnamon Sugar Apple Galette
Want more delicious and beautiful recipes? Subscribe to my newsletter to receive the latest seasonal creations as soon as they’re released!
If you make this recipe, please leave a star rating on the recipe card and comment below! You can also tag @BritneyBreaksBread on Instagram and hashtag #britneybreaksbread so I can celebrate your beautiful creations!
Apple Crisp without Oats

Equipment
- 9 inch Cast Iron Skillet
Ingredients
Streusel Topping
- 1 1/4 cup All-Purpose Flour
- 3/4 cup Brown Sugar
- 2 tsp Cinnamon
- 1/2 tsp Nutmeg
- Pinch Kosher Salt
- 1/2 cup Salted Butter , (cold)
- pinch oF salt
Filling
- 2 lbs Apples, (I used a mix oF granny smith apples and honeycrisp apples)
- 1 1/2 cups Apple Cider, (boiled down to 1/4 cup – see instructions)
- 1/3 cup brown sugar
- 2 tbsps cornstarch
- 2 tsp vanilla extract
- 1 tbsp lemon juice
- 2 tsp cinnamon
- 1/2 tsp nutmeg
- 1/2 tsp ground cloves
- pinch oF salt
Instructions
- Preheat oven to 350 degrees F.
- Add apple cider to a saucepan over high heat. Boil until the cider is reduced to a 1/4 cup, about 20-25 minutes. Pour into a heat safe container and allow it to cool.
- Grease a 9-inch cast iron skillet or 9×13 baking dish with butter.
- Peel, core, and slice the apples into bite sized chunks (about 1/4 inch slices) and place in a large bowl. Add lemon juice, vanilla extract, brown sugar, spices, apple cider concentrate (boiled cider from above), and cornstarch. Toss together to coat and add to your prepared baking dish.
- While the apples are sitting, Prepare the crisp topping by mixing together flour, cinnamon, and salt. Then add in the cold butter and pinch together (you can also use a pastry cutter or food processor) until crumbles begin to form and the butter is completely mixed into the flour.
- Sprinkle the crumbly topping on top of the apple mixture. Bake for 40-45 minutes, until the topping is golden brown and the fruit filling is bubbly and soft. Allow the apple crisp to cool for 10-15 minutes before serving.
Notes
Nutrition
Nutrition information is automatically calculated, so should only be used as an approximation.
Easy Side Dishes
Baked Corn On The Cob
Desserts
Banana Pudding Cake
Desserts
S’mores Brownies
Desserts


Wow! This came together so easily and i loved each bite! I found that the unpeeled apple added so much body too!
I made this crisp exactly the way you said, peels and all, and the outcome is amazing. I can’t stop eating it!
I do love a crisp, and I was so excited to see that you used pears! It was my signal to make this ASAP. It turned out amazing, and the serving it a la mode was a hit.
We loved the combination of textures and flavors coming from the pears, apples and oats. Great dessert!
This looks delicious!
The pears added a tartness that I truly enjoyed.
The combination of spiced apples and pears was perfect! I added some cinnamon ice cream and it was the perfect treat!
The sweet granny smith apples with pear and cinnamon in this recipe is absolutely incredible! My family and I LOVED the recipe! There isn’t a crumb of this crisp left– it was that good!
This dessert tasted amazing! It was perfectly crisp on the outside and sweet on the inside. I can’t wait to make this again. Yum!