
This post may contain affiliate links. Please see our disclosure policy.
These Red Velvet Cookies are soft, thick, and filled with melty chocolate chips in every bite. They’ve got that classic red velvet flavor with a rich cocoa note and the perfect chewy texture. Soft centers, chewy edges, and enough chocolate to make every bite, you won’t be able to have just one.
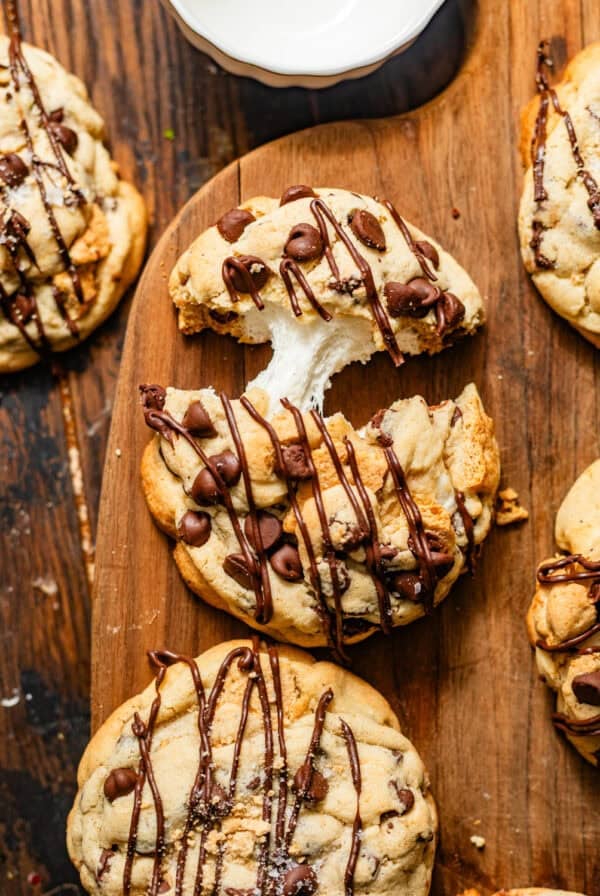
For more cookie recipes, make my chocolate chip cookies and hot cocoa cookies with marshmallows!

Red velvet cookies will always have my heart. It’s a combination of my red velvet cake and chocolate chip cookies merged together into one beautifully, perfect red velvet cookie.
And even though people love to argue about whether red velvet is a “real” flavor or not… To me, it’s that hint of cocoa, the slight tanginess, and that bold red color that just feels special.
These are the cookies my husband reaches for first every single time, no matter what else is on the dessert table.
I’ll make a whole batch and guess what’s gone by morning? These cookies. There’s something nostalgic about them, like holiday baking and late-night snacks all wrapped into one warm cookie.
And let’s be real, they’re not just pretty. They’re soft, rich, and full of chocolate in a way that’s so good is feels unreal.
It’s one of those flavors (or non-flavors depending on who you ask) that just feels like home in dessert form.
Table of contents
Key Ingredients

(full list of ingredients can be found in the recipe card)
- Bread flour and all-purpose flour: This duo gives you the best of both worlds – structure from the bread flour and tenderness from the all-purpose, creating thick cookies with a chewy bite instead of a cakey crumb.
- Sugar and brown sugar: Granulated sugar helps the cookies spread and crisp slightly at the edges, while brown sugar adds moisture and that rich, almost caramel-like flavor that keeps the centers soft.
- Egg and egg yolk: The whole egg binds everything together and adds structure, while the extra yolk brings richness and chew, making the cookies feel more bakery-style than homemade.
- Vinegar: A tiny amount goes a long way, it enhances the cocoa flavor and reacts with baking soda to help give the cookies just the right lift and tender texture.
- Red gel food coloring: Provides that classic red velvet color without thinning the dough the way liquid coloring can.
- Natural cocoa powder: Adds subtle chocolate flavor and that signature red velvet depth without overpowering the cookie. Save leftovers to make my triple chocolate cake next!
- Semi-sweet chocolate chips and white chocolate chips: Semi-sweet adds richness and balance, while white chocolate brings a creamy sweetness that makes each bite extra indulgent.
- Sour cream: Keeps the cookies soft and plush by adding moisture and a slight tang that complements the cocoa beautifully.
How To Make Red Velvet Cake Cookies

Step 1: Whisk together the dry ingredients in a large bowl – bread flour, all purpose flour, cocoa powder, cornstarch, baking soda, baking powder, and kosher salt.

Step 2: Add room temperature butter, sugar, brown sugar, and red food coloring to the bowl of a stand mixer fitted with the paddle attachment. Mix on medium speed for 3-4 minutes, until the mixture is smooth and lightened in color.
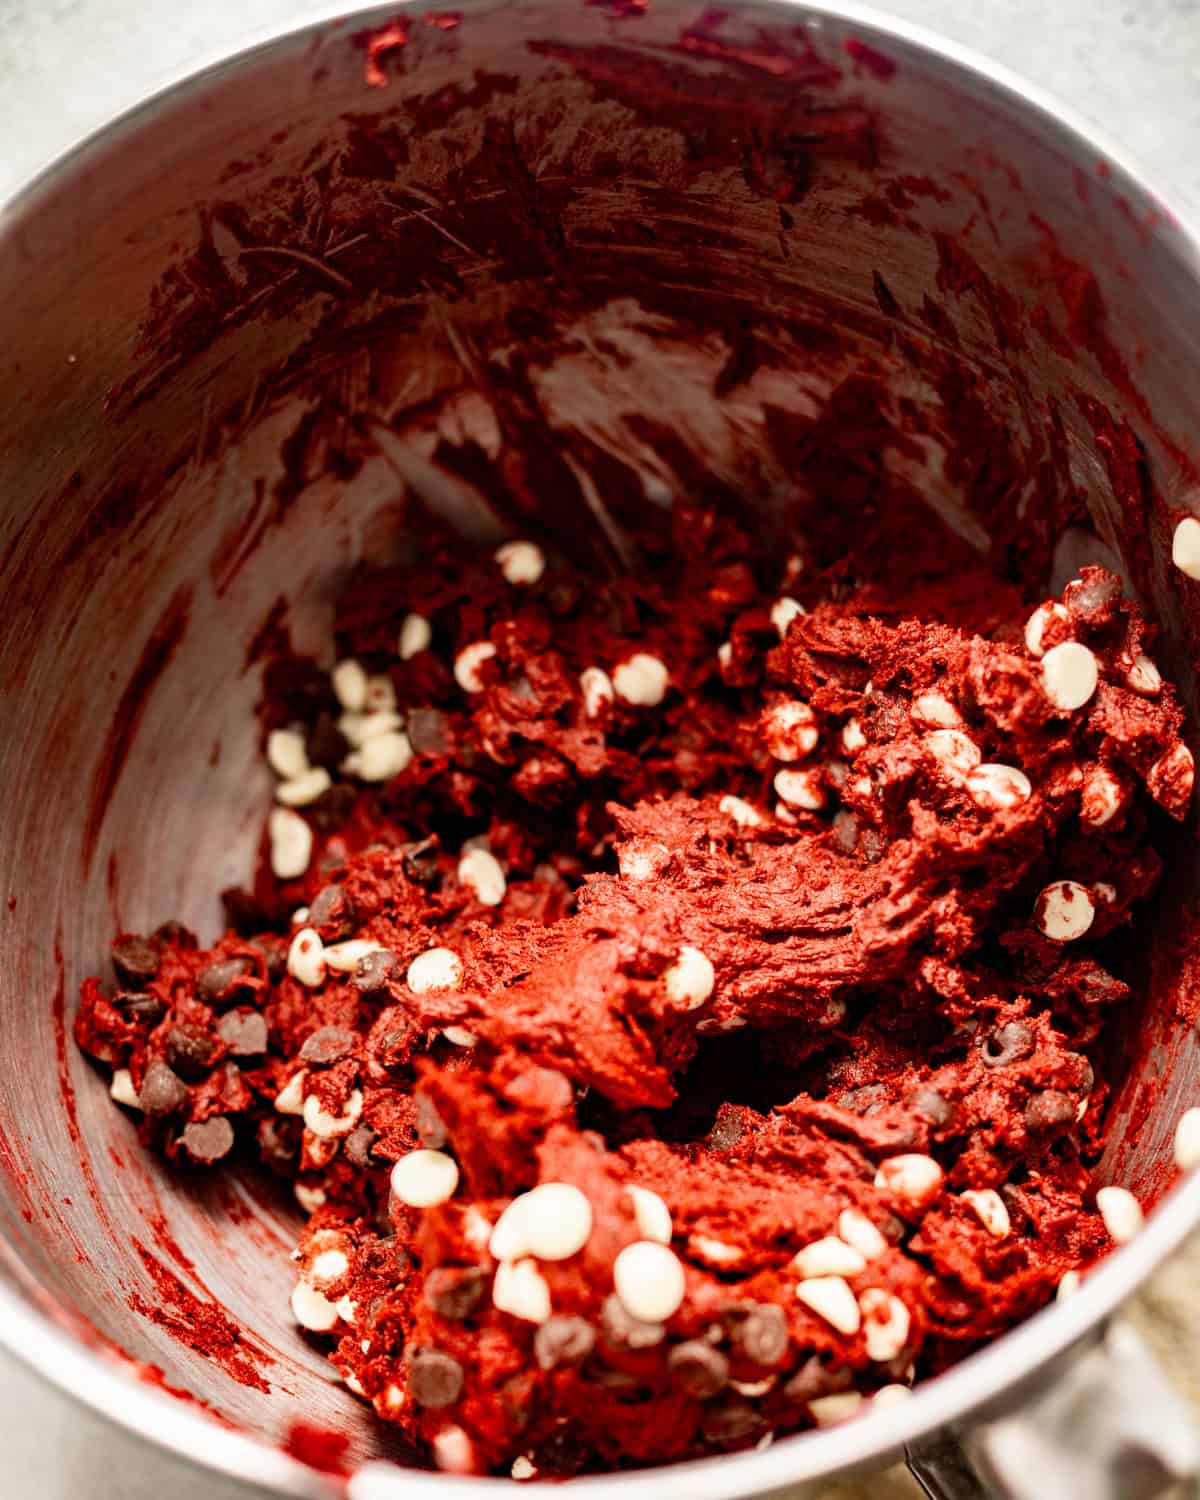
Step 3: Scrape down the sides of the bowl and add in the egg, eggs, and vanilla extract. Continue to mix on low speed for about 1 minute, until combined. Add in the vinegar and sour cream and mix until fully incorporated, about 20 seconds. Add in the dry ingredients and mix on medium low speed until combined and a dough forms, about 30 seconds. Use a flat spatula to fold in the white chocolate chips and semi-sweet chocolate chips.

Step 4: Line a baking sheet with parchment paper. Measure out 6oz cook dough balls, about 8-9 cookies. (do not roll into a ball) Refrigerate uncovered for 2-4 hours, until cold throughout.
Bake!
- Preheat the oven to 375 degrees F. Bake 3 cookies at a time, 4 inches apart, for 14-17 minutes (14 minutes for a gooey cookies, 17 minutes for a more crispy cookie). Fresh out of the oven, use a small bowl to scoot around the cookies in a circular motion to create the perfect circular cookie. Allow the cookies to cool on the baking sheet for 15 minutes, then remove onto a wire rack to cool completely.
Pro Baking Tips
- Don’t skip the vinegar. You won’t taste it, promise! The vinegar just boosts the cocoa flavor and makes the cookies tender and vibrant.
- Measure flour like a pro. Spoon and level your flours (or weigh them) so your cookies don’t turn out dry or dense. Too much flour = cakey sadness.
- Use gel food coloring. Liquid coloring can thin the dough. Gel gives bold color without messing with texture.
- Quality cocoa powder make a big difference! It’s subtle, but better cocoa gives better flavor.
- Underbake slightly. Take them out when centers look soft. They’ll set as they cool and stay chewy instead of dry.

Recipe FAQs
The vinegar deepens the cocoa flavor and reacts with the baking soda for texture. You won’t taste it at all, promise.
Nope! Chilling keeps your cookies thick, chewy, and bakery-style instead of flat and floppy.
Yes if you can. The combo gives you softness and chew. But in a pinch, swap all bread flour with all-purpose (you’ll lose a little chew, not flavor).
Gel food coloring works best for bold color without thinning the dough.
Yes! You can refrigerate the dough up to 48 hours or freeze portions for baking later.
Your butter may be too warm, your dough may not be chilled long enough, or your baking sheet may be hot.
More Cookie Recipes

Desserts
Raspberry Thumbprint Cookies

Desserts
Fudgy Brookies

Christmas and Holiday Recipes
Biscoff Butter Cookies

Want more delicious and beautiful recipes? Subscribe to my newsletter to receive the latest seasonal creations as soon as they’re released!
If you make this recipe, please leave a star rating on the recipe card and comment below! You can also tag @BritneyBreaksBread on Instagram and hashtag #britneybreaksbread so I can celebrate your beautiful creations!
Red Velvet Cookies Recipe

Equipment
- Stand Mixer or Electric Hand Mixer
- Measuring Cups or Kitchen Scale
- Baking Sheets
Ingredients
- 1 1/4 cups (280 g) Salted Butter, (room temperature)
- 3/4 cup (150 g) Granulated Sugar
- 1 cup (220 g) Light Brown Sugar
- 1 tbsp Red Gel Food Coloring
- 1 large (50 g) Eggs, (room temperature)
- 2 (36 g) Egg Yolks, (room temperature)
- 1 tbsp Vanilla Extract
- 1 1/2 cups (188 ml) Bread Flour
- 1 1/2 cups (188 ml) All Purpose Flour
- 6 tbsp (32 g) Natural / Unsweetened Cocoa Powder
- 1 tbsp Cornstarch
- 1 tsp Baking Soda
- 1/2 tsp Baking Powder
- 1 tsp Kosher Salt
- 1 tbsp Vinegar
- 1 tbsp Sour Cream
- 1 cup (170 g) White Chocolate Chips
- 1 1/2 cups (255 g) Semi-Sweet Chocolate Chips
Instructions
- Whisk together the dry ingredients in a large bowl – bread flour, all purpose flour, cocoa powder, cornstarch, baking soda, baking powder, and kosher salt. 1 1/2 cups Bread Flour 1 1/2 cups All Purpose Flour 6 tbsp Natural / Unsweetened Cocoa Powder 1 tbsp Cornstarch 1 tsp Baking Soda 1/2 tsp Baking Powder 1 tsp Kosher Salt
- Add room temperature butter, sugar, brown sugar, and red food coloring to the bowl of a stand mixer fitted with the paddle attachment. Mix on medium speed for 3-4 minutes, until the mixture is smooth and lightened in color. Scrape down the sides of the bowl and add in the egg, eggs, and vanilla extract. Continue to mix on low speed for about 1 minute, until combined. 1 1/4 cups Salted Butter 3/4 cup Granulated Sugar 1 cup Light Brown Sugar 1 tbsp Red Gel Food Coloring 1 large Eggs 2 Egg Yolks 1 tbsp Vanilla Extract
- Add in the vinegar and sour cream and mix until fully incorporated, about 20 seconds. 1 tbsp Vinegar 1 tbsp Sour Cream
- Add in the dry ingredients and mix on medium low speed until combined and a dough forms, about 30 seconds. Use a flat spatula to fold in the white chocolate chips and semi-sweet chocolate chips. 1 cup White Chocolate Chips 1 1/2 cups Semi-Sweet Chocolate Chips
- Line a baking sheet with parchment paper. Measure out 6oz cook dough balls, about 8-9 cookies. (do not roll into a ball) Refrigerate uncovered for 2-4 hours, until cold throughout.
- Preheat the oven to 375 degrees F. Bake 3 cookies at a time, 4 inches apart, for 14-17 minutes (14 minutes for a gooey cookies, 17 minutes for a more crispy cookie).
- Fresh out of the oven, use a small bowl to scoot around the cookies in a circular motion to create the perfect circular cookie. Allow the cookies to cool on the baking sheet for 15 minutes, then remove onto a wire rack to cool completely.
Video
Notes
- Don’t skip the vinegar. You won’t taste it, promise! The vinegar just boosts the cocoa flavor and makes the cookies tender and vibrant.
- Measure flour like a pro. Spoon and level your flours (or weigh them) so your cookies don’t turn out dry or dense. Too much flour = cakey sadness.
- Use gel food coloring. Liquid coloring can thin the dough. Gel gives bold color without messing with texture.
- Quality cocoa powder make a big difference! It’s subtle, but better cocoa gives better flavor.
- Underbake slightly. Take them out when centers look soft. They’ll set as they cool and stay chewy instead of dry.
Nutrition
Nutrition information is automatically calculated, so should only be used as an approximation.


These cookies were a hit. H I T hit! I’m not saying I immediately went out to BJ’s and bought the largest bag of bread flour so I could make more. But I’m also not not saying that.
An leftover dough be frozen? If so, for how long?
Leftover dough can be stored in an airtight container/ziploc bag in the freezer for up to 3 months.
Perfectly soft, chewy, gooey red velvet cookies loaded with white and dark chocolate! Huge hit with everyone who tried them! Big enough for sharing or an indulgent treat for one.
Thanks so much, Lexi!
These are absolutely delicious!! I will definitely be putting these in the normal holiday cookie rotation. Or just the regular cookie rotation! Thank you so much for sharing!
I’m so happy that you enjoyed them! Thank you and happy holidays!
These look amazing, but can I make the cookies smaller? I would like to make at least 18-24 smaller cookies. If so, how long would I bake them for? Thanks so much.
Hi Helen!
Absolutely, you can make them smaller! I would use a medium cookie scoop and bake for about 9-12 mins. Enjoy!
Thank you for the prompt response. I’m definitely making these for Christmas. I’ll let you know how they turn out. Thanks again.