This post may contain affiliate links. Please see our disclosure policy.
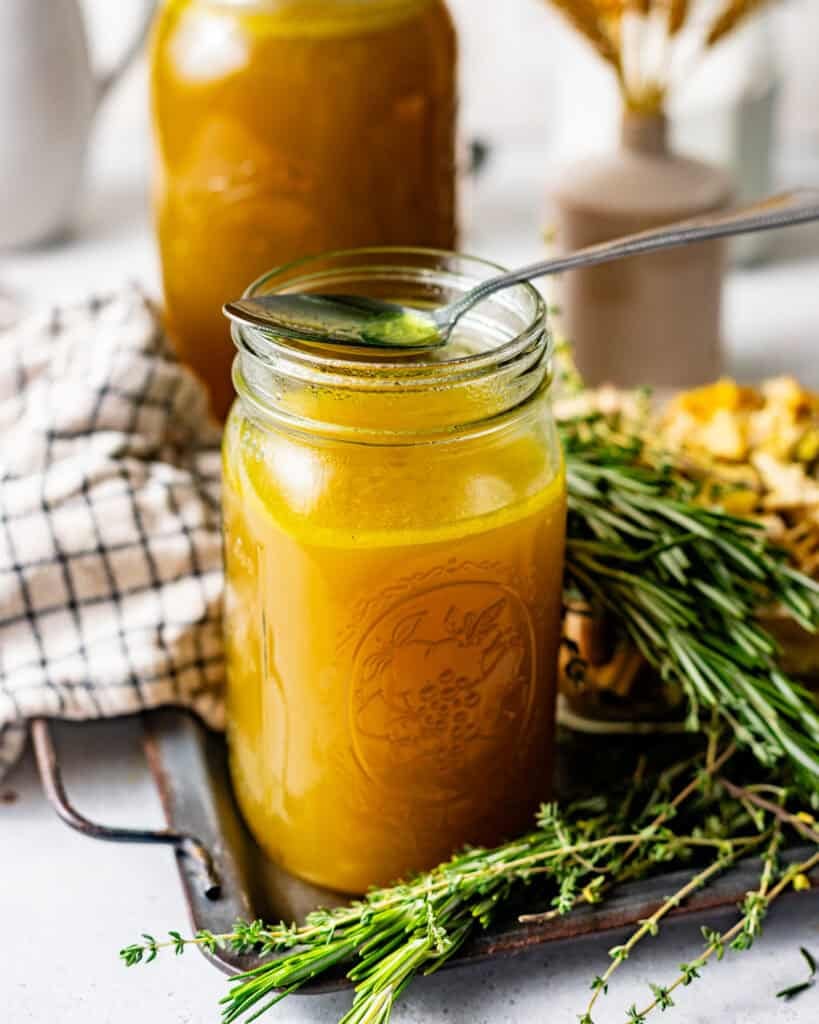
This Homemade Chicken Broth is liquid gold in a pot! A whole chicken is simmered low and slow with fresh vegetables, herbs, and a few flavor-boosting secrets to create a rich broth that’s miles above anything you’ll find in a carton. We’re not just throwing a chicken in some water and calling it a day, we’re building flavor at every level! Once you make it from scratch, there’s no going back!
Use this chicken broth recipe to make my Dutch Oven Chicken Noodle Soup or Marry Me Chicken Soup – using homemade broth makes the world of a difference!
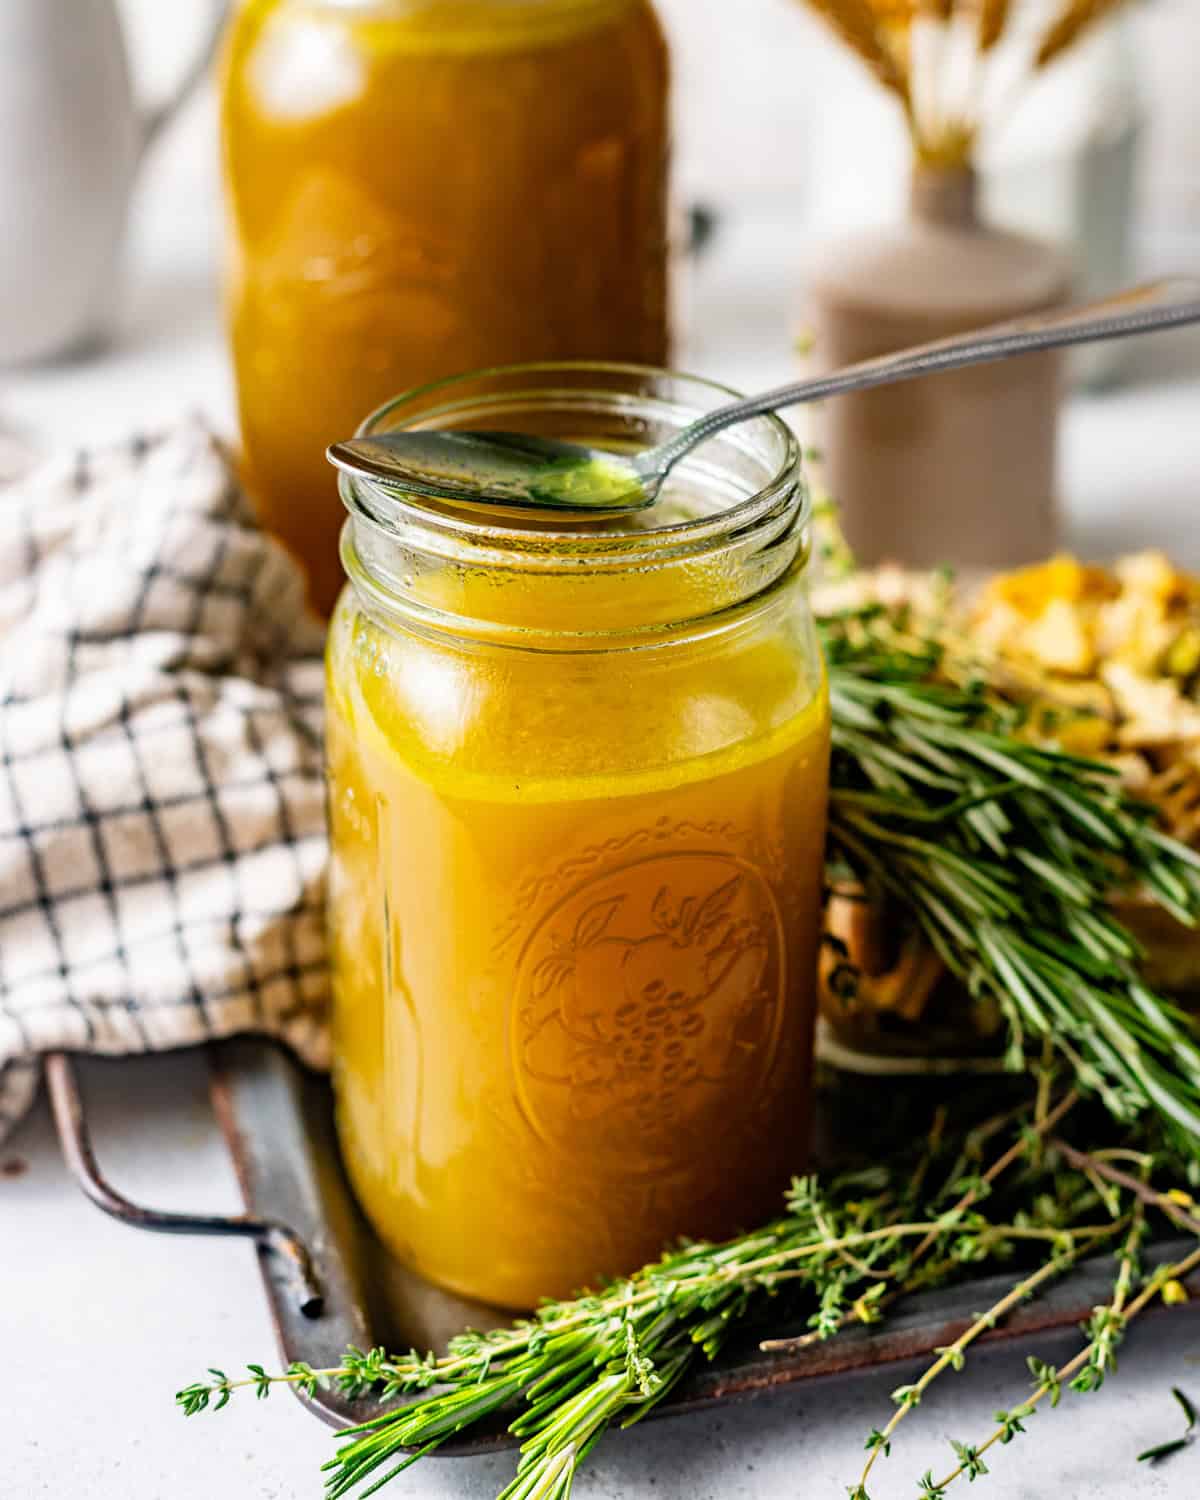
I absolutely love making homemade chicken broth. It fills my house with a cozy smell, and I am always so impressed with just how delicious it turns out! It is actually flavorful, y’all. Not watery or bland like the store bought stuff!
I know you might think that homemade chicken broth is complicated, but it’s so easy to make! Truth is, it’s all about patience. You’re essentially letting time do most of the work for you! With this recipe, you end up with a chicken broth that is actually worth the time and effort it took to make it.
Now, it’s a staple in my kitchen and I make a big batch whenever I can!
Table of contents
- Why You’ll Love This Homemade Chicken Broth
- Homemade Chicken Broth Ingredients
- Variations & Substitutions
- How to Make Homemade Chicken Broth
- Pro Tips
- What are some ways to use homemade chicken broth?
- Storage Suggestions
- FAQs
- More Recipes Using Chicken Broth
- BEST Homemade Chicken Broth
- Why THIS Recipe Hits Different
- Homemade Chicken Broth Ingredients
- Variations & Substitutions
- How to Make Homemade Chicken Broth
- Pro Tips
- Storage Suggestions
- FAQs
- More Homemade Recipes to Try
Why You’ll Love This Homemade Chicken Broth
- I use a whole chicken instead of just parts, which gives the broth a deeper, more well-rounded flavor.
- Fresh rosemary, thyme, and parsley add layers of flavor that dried herbs just can’t compete with.
- I double-strain the broth. Once through a colander, then again through paper towels, so it comes out perfectly clear and clean every single time.
- Adding a touch of chicken bouillon paste is my little trick for a more savory, concentrated flavor that takes this broth to the next level.
Homemade Chicken Broth Ingredients
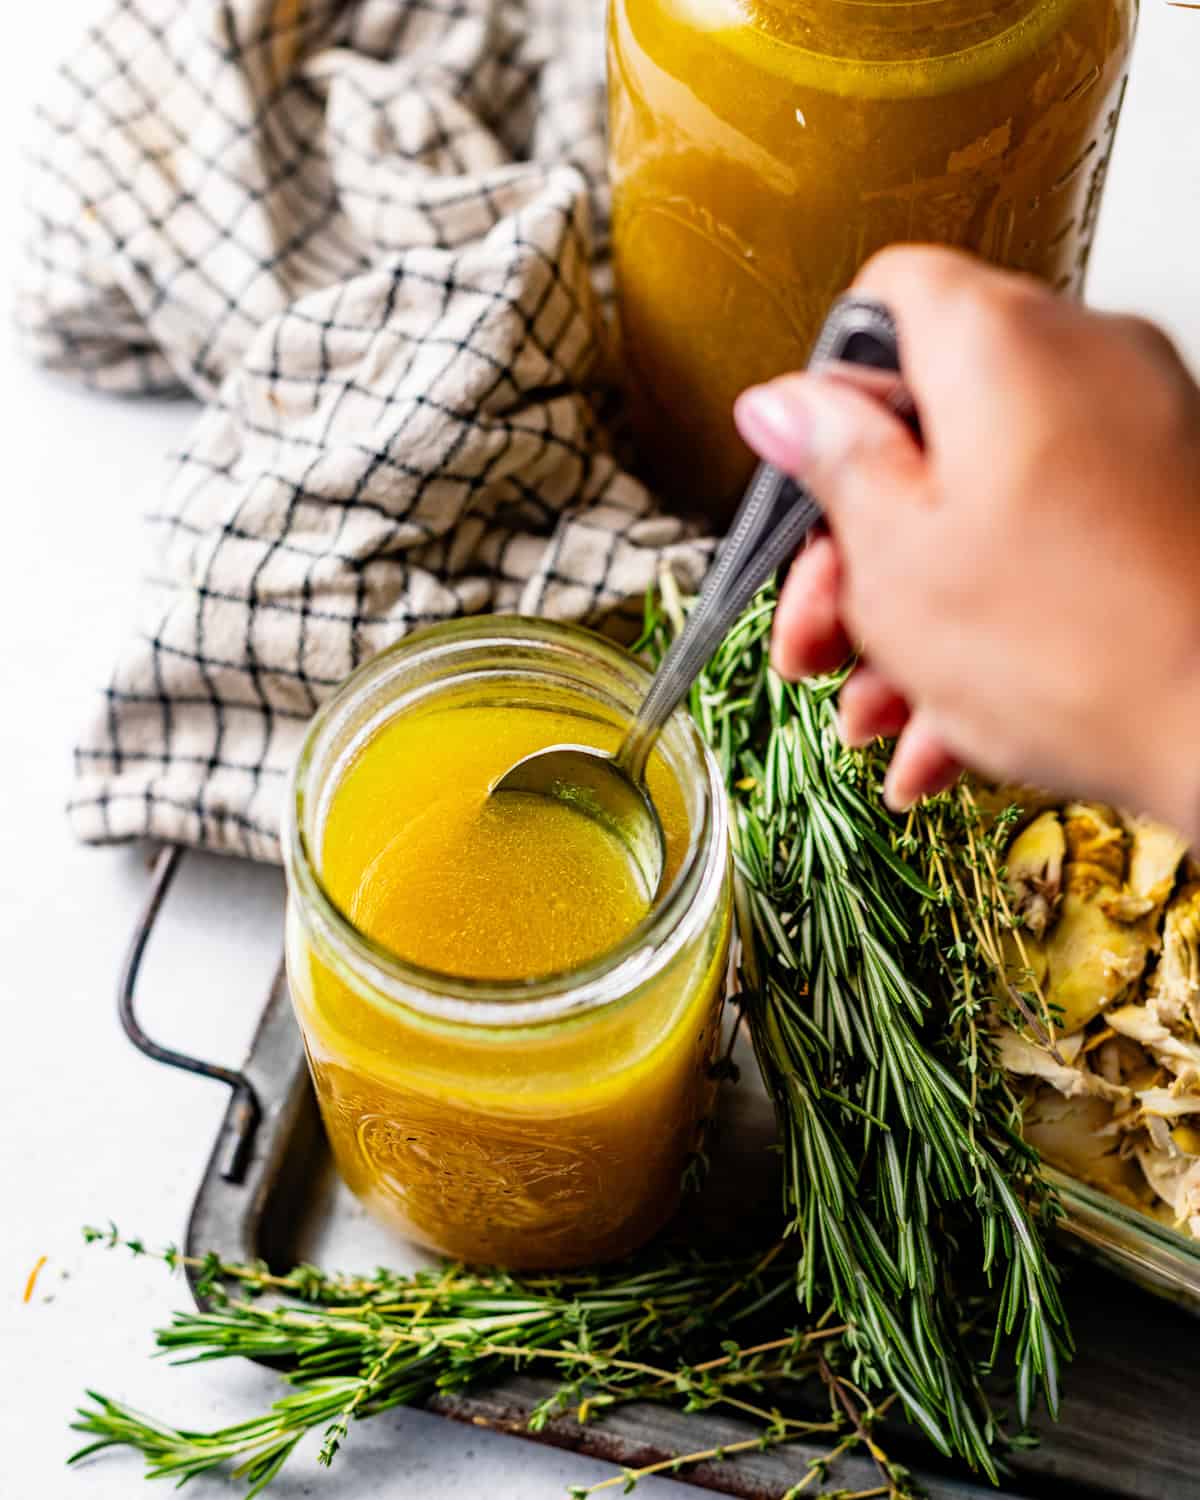
The full list of ingredients can be found in the recipe card.
- A whole chicken is the heart of this recipe. It gives the broth incredible richness and flavor that you simply can’t get from boneless cuts.
- Carrots, celery, and onion build that classic savory flavor that makes it taste like home.
- Smashed garlic cloves release their flavor slowly into the broth as it simmers. I do this with my seafood boil recipe too!
- Fresh rosemary, parsley, and thyme add a that essential aromatic flavor.
- Turmeric gives this broth its signature golden color and a slightly earthy undertone.
- Vinegar is the secret weapon. Just a splash adds a touch of acidity and helps break down the collagen in the bones, resulting in a richer, silkier broth.
- Chicken bouillon paste is optional but highly recommended! It adds a concentrated punch of savory flavor.
- Filtered water is best to get a clean, pure flavor. Use enough to fully submerge the chicken, about 10–12 cups.
Variations & Substitutions
- No whole chicken? Use a mixture of bone-in thighs, drumsticks, wings, backs, or necks. Aim for approximately the same total weight as the whole chicken. Wings, backs, and necks are especially helpful for creating a broth with plenty of body.
- Add a parmesan rind for an extra layer of flavor in this homemade chicken broth recipe. Drop it into the pot along with the other ingredients and let it simmer away.
- Swap in leeks for one of the onions for a slightly sweeter, more delicate flavor.
- No fresh herbs? Dried herbs work in a pinch. Use about 1 teaspoon each of dried rosemary and thyme in place of the fresh sprigs. The flavor won’t be quite as bright, but it’ll still be delicious.
How to Make Homemade Chicken Broth
Prep the chicken. Remove the innards from the cavity and place the chicken into a large stockpot cavity-side down.
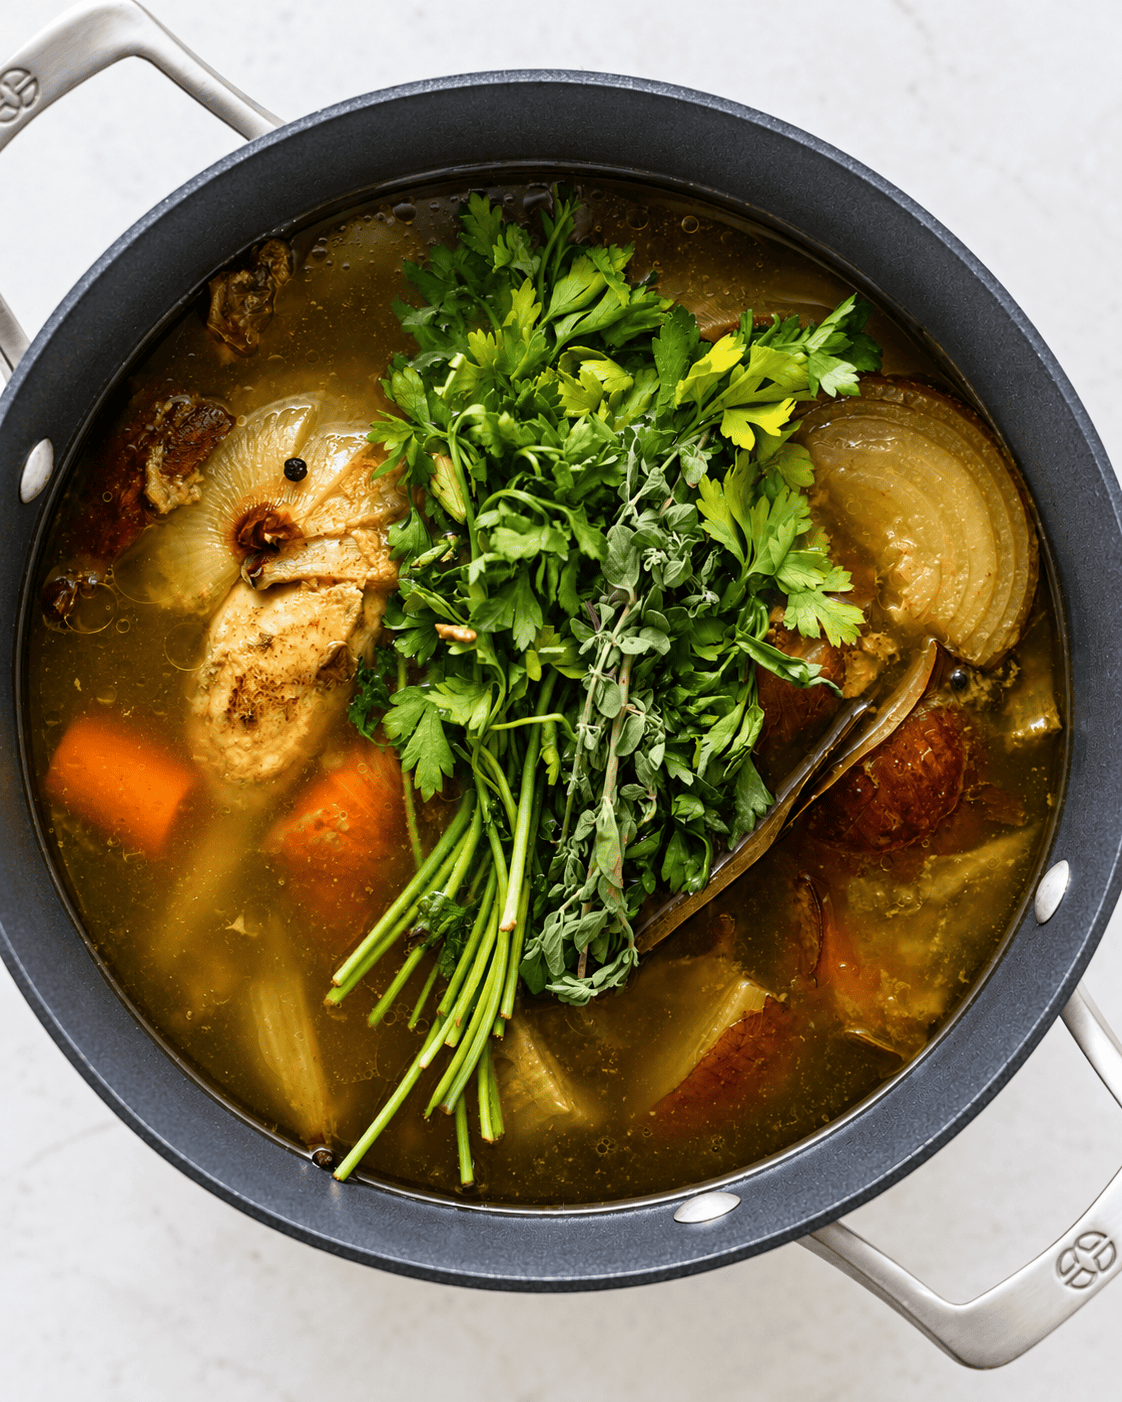
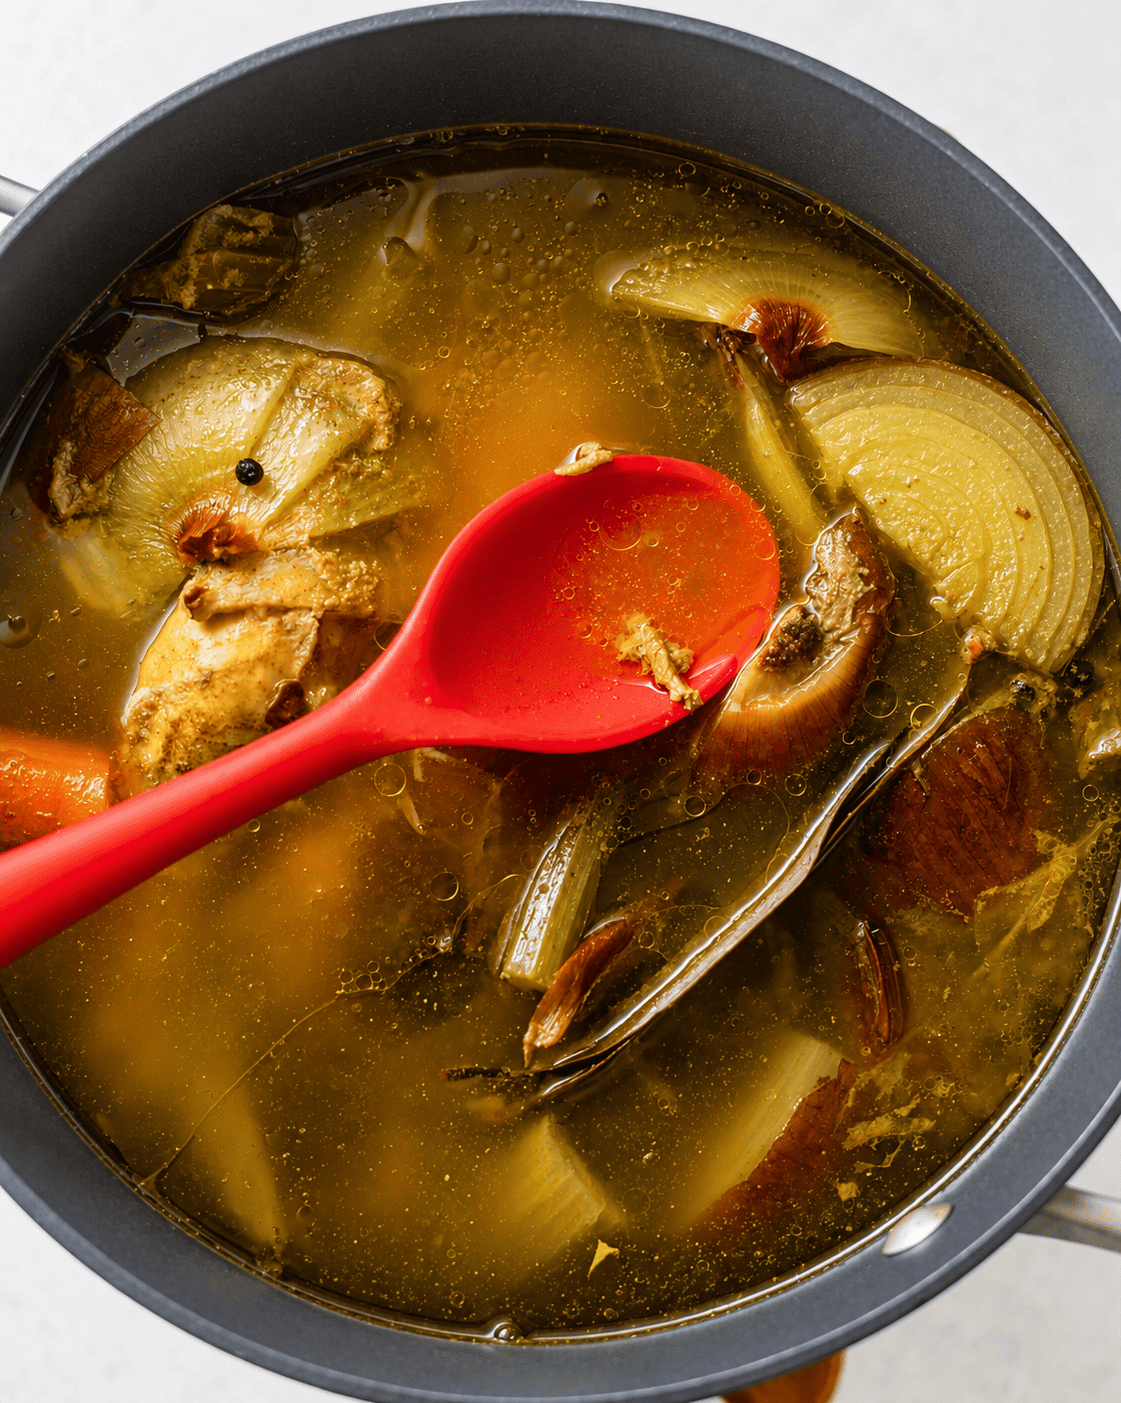
Step 1: Add everything to the pot. Add the carrots, celery, onion, smashed garlic, bay leaves, peppercorns, garlic powder, onion powder, turmeric, parsley, rosemary, and thyme. Pour in 10–12 cups of filtered water, then stir in the bouillon paste and vinegar.
Step 2: Simmer low and slow. Bring to a boil over medium-high heat, then reduce to low, partially cover with a lid, and simmer for 1 hour. Skim off any foam that rises to the top, then continue simmering for at least 2 more hours, up to 10 for maximum flavor.
Step 3: Remove the chicken. Carefully lift the chicken out of the pot and set aside. Once cool enough to handle, shred the meat off the bones and save it for chicken noodle soup or other chicken soup recipes!
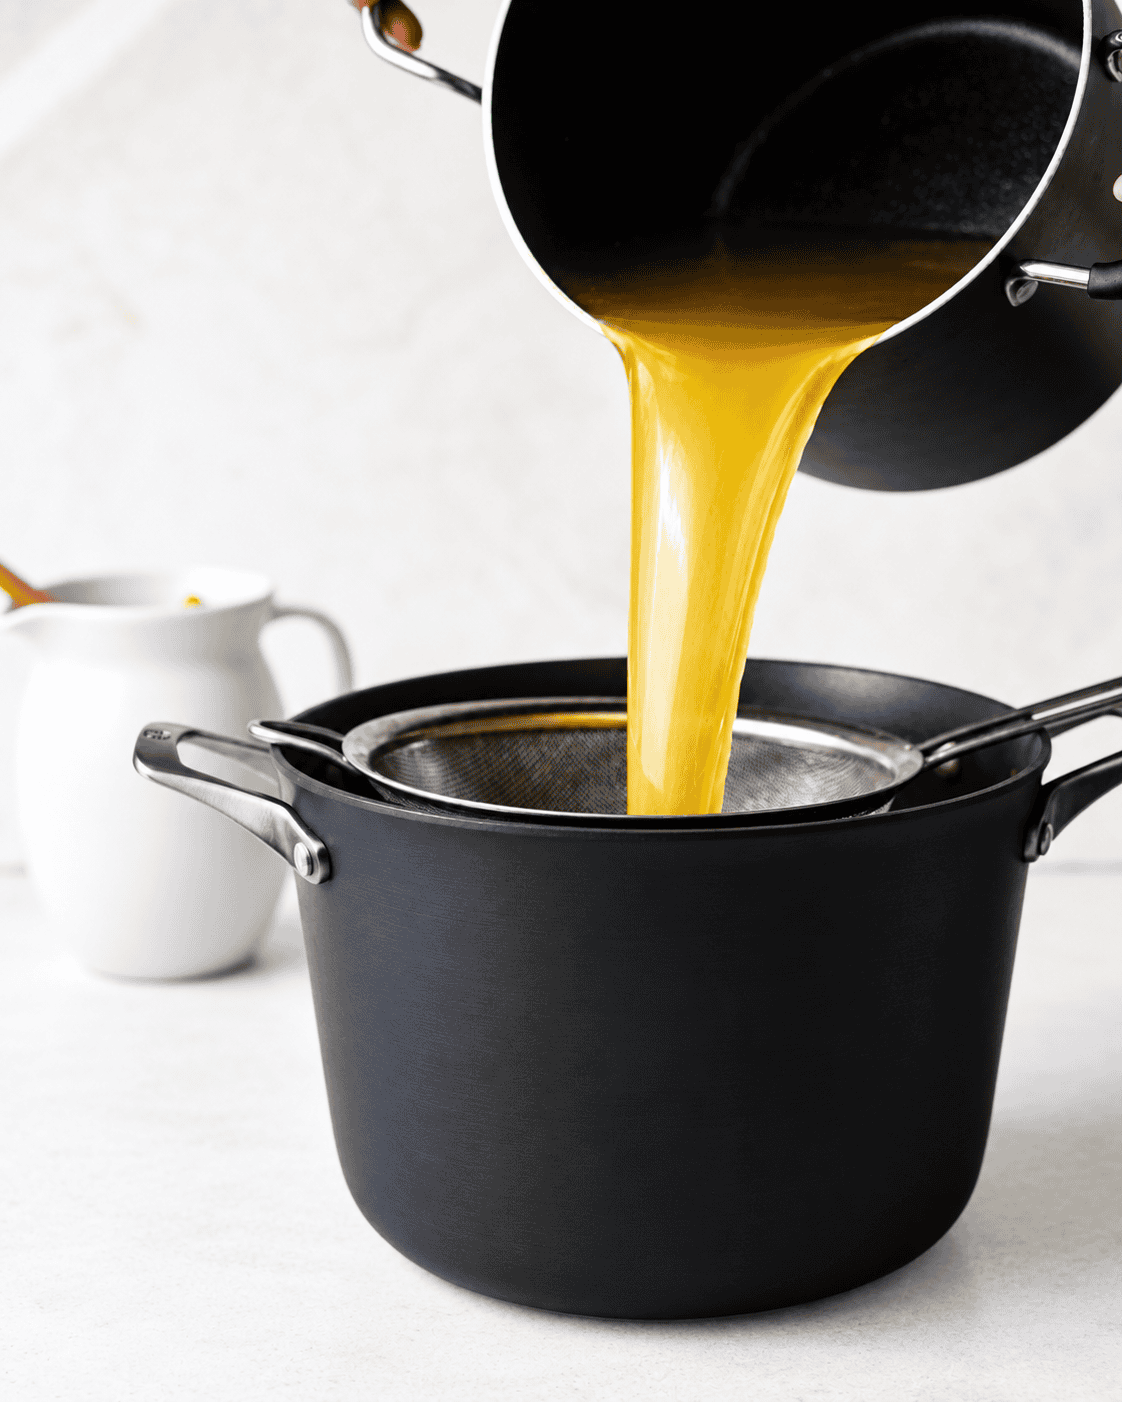
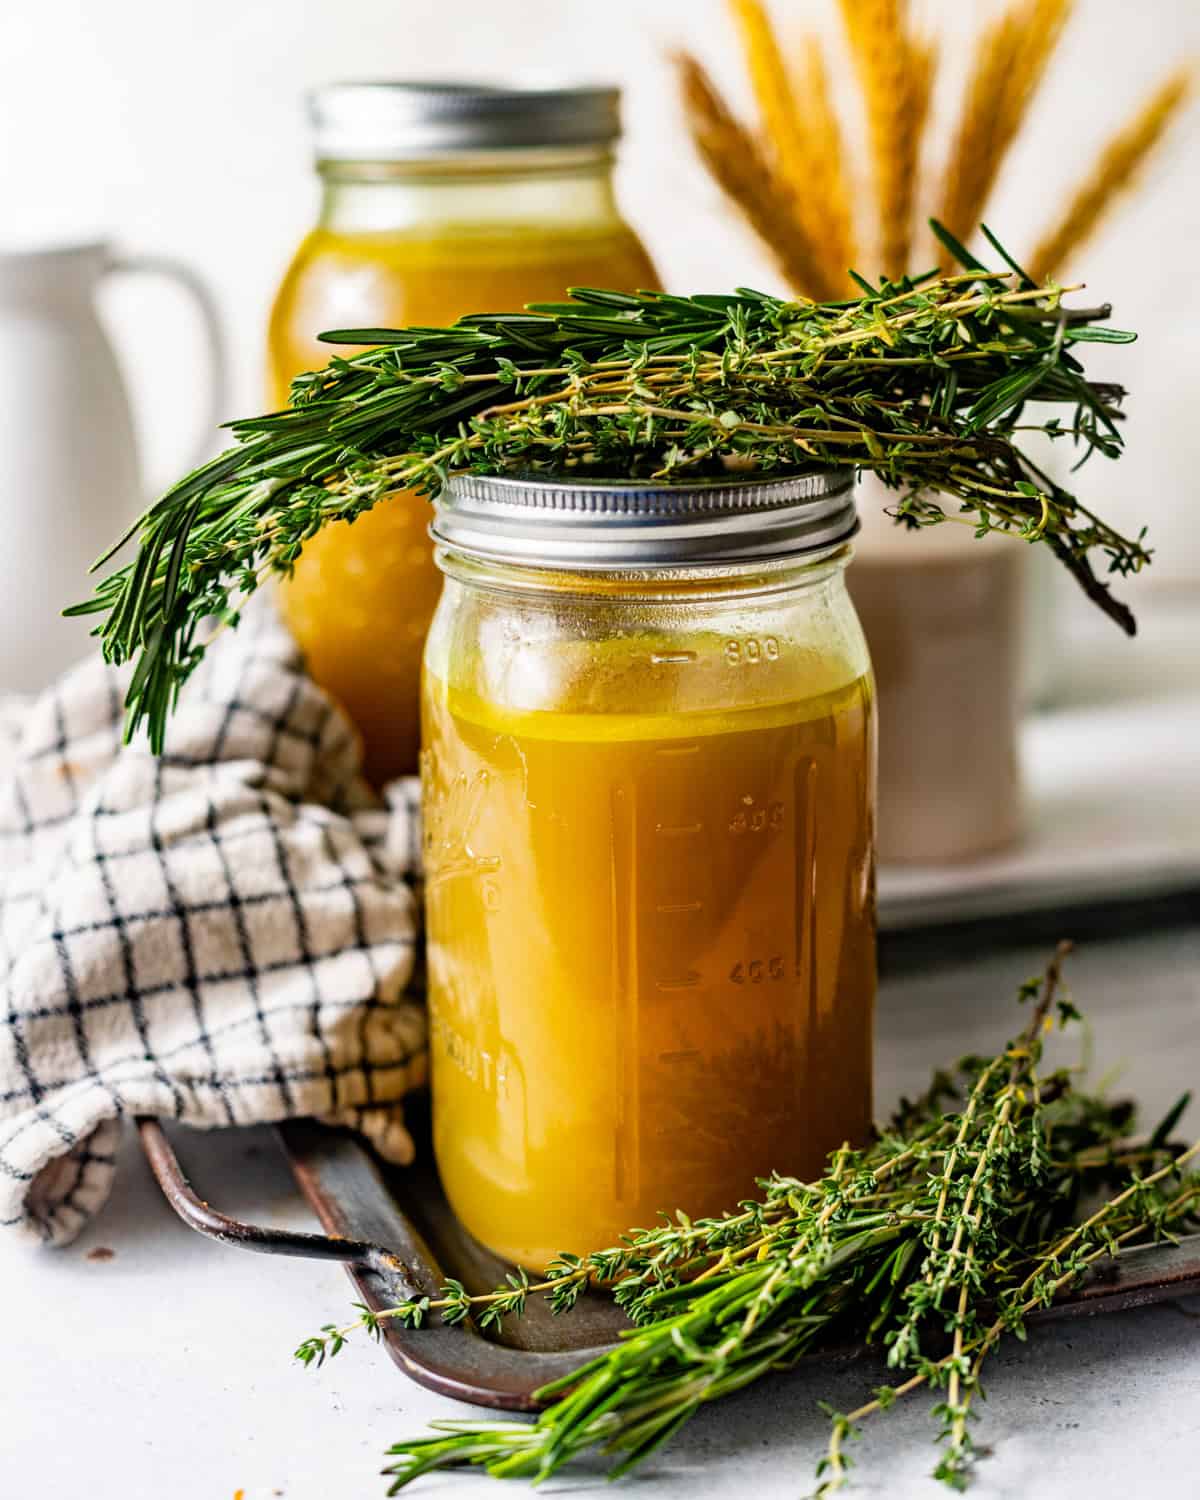
Step 4: Strain the broth. Pour the broth through a large colander or strainer set over a large bowl to remove the solids. Then do a second pass. Lay 3 paper towels over the strainer and slowly pour the broth through for a perfectly clear, clean finish.
Step 5: Cool and store. Divide the strained broth among shallow, heat-safe containers and refrigerate it within 2 hours. Once chilled, cover the containers tightly.
Pro Tips
- Low and slow is everything. The biggest mistake you can make with homemade broth is cranking the heat and trying to speed things up. A hard boil will make your broth cloudy and can actually break down the proteins in a way that muddles the flavor. Keep it at a gentle, lazy simmer where you just see a few bubbles breaking the surface.
- The double-strain is worth the extra step. I know it feels like overkill, but straining through paper towels makes a real difference. Your first strain through the colander will catch the big solids, but the second pass pulls out all the tiny particles that make broth look murky. The result is a gorgeous, golden broth!
- Place the chicken cavity-side down. This is a small detail that makes a big practical difference. When the cavity faces down, it doesn’t fill up with broth during cooking, which means when it comes time to remove the chicken from the pot, it won’t be filled with water and impossible to lift without splashing hot liquid everywhere. Trust me on this one!
- Watch your liquid level on long simmers. If you’re going for a longer simmer (4+ hours), check on the pot occasionally. As the broth reduces, the level will drop, so if it gets too low, just add a splash of water to keep the chicken and vegetables submerged. You want to simmer, not evaporate. That said, some reduction is totally fine and actually concentrates the flavor beautifully.
What are some ways to use homemade chicken broth?
So many ways! It’s the perfect base for soups like Creamy Chicken and Wild Rice Soup and Dutch Oven Chicken and Dumplings. Use it in place of water when cooking rice or grains, splash some into a pan sauce to deglaze and build something delicious.
It can also be used in Stove Top Beef Stew to replace the beef broth of Seafood Gumbo to replace seafood stock. Honestly, keep a few containers in the freezer and you’ll always have a head start on something delicious.
Storage Suggestions
Divide the strained broth among shallow, heat-safe containers and refrigerate it within 2 hours. Once chilled, cover the containers tightly and refrigerate for up to 4 days. Note: A layer of fat may solidify on top as the broth chills. You can remove it for a lighter broth or leave it for additional richness.
For longer storage, pour the chicken broth into freezer-safe containers or zip-top bags (laid flat for easy stacking), leaving a little room at the top for expansion, and freeze for up to 3 months. Pro Tip: I love freezing it in 1 or 2 cup portions so I can thaw exactly what I need for any recipe. When you’re ready to use it, thaw overnight in the refrigerator or gently reheat from frozen on the stovetop over low heat.
FAQs
The terms are often used interchangeably, but broth is generally made with meat and is seasoned for sipping or serving, while stock typically relies more heavily on bones and is often left unseasoned for use in other recipes. Because this recipe uses a whole bone-in chicken, it has the flavor of broth with some of the body associated with stock.
Taste it! A good broth should taste savory, well-rounded, and deeply flavorful, not watery or flat. After the minimum 3-hour simmer, if it tastes a little thin, keep going.
Cloudy broth is usually caused by boiling it too vigorously, which agitates the fat and proteins in the pot. It’s still perfectly usable and flavorful. For clearer broth, maintain a gentle simmer, avoid stirring it excessively, skim away foam during the first hour, and strain it through a fine-mesh sieve at the end.
You don’t have to peel the carrots as long as you scrub them thoroughly. Remove the papery outer layer from the onion, but you can leave a clean layer of onion skin attached for deeper golden color. Since the vegetables will be strained out, rough chopping is all you need.
Chicken broth is a low-acid food and cannot be safely preserved using a boiling-water canner. Use a tested pressure-canning recipe from a reliable food-preservation authority, or freeze the broth instead.
Keep the pot partially covered during the gentle simmer. This limits evaporation while allowing some reduction to concentrate the flavor.
More Recipes Using Chicken Broth

Main Course
Mississippi Chicken Recipe

Main Course
Cajun Shrimp and Grits

Main Course
Maple Dijon Chicken

Main Course
Baked Chicken Leg Quarters
If you make this recipe, please leave a star rating on the recipe card and comment below! You can also tag @BritneyBreaksBread on Instagram and hashtag #britneybreaksbread so I can celebrate your beautiful creations!
Stovetop Chicken Broth Recipe

Equipment
- Large Stock Pot
- Colander / Sieve
Ingredients
- 1 Whole Chicken, 4-5 lbs
- 4 Carrots, cut into large chunks
- 4 Celery Stalks, cut into large chunks
- 2 Onions, cut into quarters
- 8 cloves Garlic, smashed
- 3 Bay Leaves
- 1 tbsp Whole Peppercorns
- 1 tbsp Garlic Powder
- 1 tbsp Onion Powder
- 2 tsp Turmeric
- Fresh Parsley
- 4 sprigs Fresh Rosemary
- 4 sprigs Fresh Thyme
- 10-12 cups Filtered Water, enough to cover the chicken
- 1 tbsp Chicken Bouillon Paste, optional
- 2 tbsp Vinegar
Instructions
- Remove the chicken from the packaging and remove the innards from the chicken cavity. You can throw them away 1 Whole Chicken
- Place the chicken into a large stockpot (cavity side down – this prevents the cavity from filling with broth while cooking, making the chicken easier to remove from the pot). Add the carrots, celery, onions, smashed garlic, bay leaves, peppercorns, garlic powder, onion powder, turmeric, parsley, rosemary, and thyme into the pot. 1 Whole Chicken 4 Carrots 4 Celery Stalks 2 Onions 8 cloves Garlic 3 Bay Leaves 1 tbsp Whole Peppercorns 1 tbsp Garlic Powder 1 tbsp Onion Powder 2 tsp Turmeric Fresh Parsley 4 sprigs Fresh Rosemary 4 sprigs Fresh Thyme
- Pour in 10-12 cups of filtered water, making sure the chicken is fully submerged. 10-12 cups Filtered Water
- Add the chicken bouillon paste and vinegar, this helps pull the collagen out of the bone, adding tons of flavor. 1 tbsp Chicken Bouillon Paste 2 tbsp Vinegar
- Place the pot on the stove over medium-high heat and bring it to a boil. Once it starts boiling, reduce heat to low, cover with a lid, and allow it to simmer for 1 hour. Around the 1 hour mark, you’ll see foam rise to the top – those are impurities. Skim that off with a spoon or strainer for a cleaner, clearer broth. Continue to simmer for an additional 2 hours (up to 4 hours depending on how long you want to develop the flavor). The longer it gently simmers, the richer, deeper, and more concentrated your broth will become – just be sure to keep it at a low simmer and add a splash of water if the liquid reduces too much.
- Once the broth is done, carefully remove the chicken from the pot. Get a large strainer or colander and place it over a large bowl. Pour broth into the strainer. Discard the veggies (or eat them, your choice!)
- Then we’re going strain the broth again. Pour broth back into the pot. Place 3 paper towels on top of the strainer and place the strainer on top of the bowl. Pour the broth through the paper towels, slowly, and let it drain through.
- Let it cool to room temperature, then pour into an airtight container(s) and place into the refrigerator.
Notes
- Cavity-side down is key. Place the chicken with the cavity facing down in the pot — this prevents it from filling with liquid and makes it much easier to remove after cooking.
- Don’t skip skimming the foam. Around the 1-hour mark, foam will rise to the top, skim it off for a cleaner, clearer broth.
- Low and slow wins. Keep the heat at a gentle simmer, not a rolling boil. A hard boil makes the broth cloudy and can muddy the flavor.
- The vinegar is doing real work. Don’t skip it! It helps pull collagen from the bones for a richer, silkier broth. You won’t taste it in the finished product.
- Double-strain for a clear broth. After straining through a colander, do a second pass through paper towels for a beautifully clear, restaurant-quality result.
Nutrition
Nutrition information is automatically calculated, so should only be used as an approximation.
This Homemade Chicken Broth is liquid gold in a pot! A whole chicken simmered low and slow with fresh vegetables, fragrant herbs, and a handful of flavor-boosting secrets creates a rich broth that’s miles above anything you’ll find in a carton. Once you make it from scratch, there’s no going back!
I absolutely love making homemade chicken broth. It fills my house with a cozy smell, and I am always so impressed with just how delicious it turns out! It is actually flavorful, y’all. Not watery or bland, but deeply savory and so good. Now, it’s a staple in my kitchen and I make a bit batch whenever I can!
BEST Homemade Chicken Broth
Here’s the thing. I know some of you might think that homemade chicken broth is complicated, but it really isn’t. It’s all about patience. You’re essentially letting time do most of the work for you! The broth needs to gently simmer for a long time to really draw all of the flavor from the chicken and aromatics out.
For my homemade chicken broth recipes, we’re not just throwing a chicken in some water and calling it a day. We’re building flavor from the ground up with aromatics, fresh herbs, whole spices, and a few secret additions to pull every last bit of collagen and goodness out of the bones. The result is a chicken broth that is actually worth the time and effort it was to make it!
Once you have this broth on hand, you can use it for so many different things! I use it as the base for my Dutch Oven Chicken Noodle Soup and my Marry Me Chicken Soup, and they turn out so much better with homemade broth!
Why THIS Recipe Hits Different
- I use a whole chicken instead of just parts, which gives the broth a deeper, more well-rounded flavor and plenty of body.
- A splash of vinegar is the secret ingredient! It helps draw the collagen right out of the bones, giving the broth that silky, rich texture!
- Fresh rosemary, thyme, and parsley add layers of flavor that dried herbs just can’t compete with.
- Turmeric gives the broth its gorgeous golden color and adds a subtle earthy warmth that makes it taste extra nourishing.
- I double-strain the broth. Once through a colander, then again through paper towels, so it comes out perfectly clear and clean every single time.
- The optional chicken bouillon paste is my little trick for adding that extra depth of savory, concentrated flavor that takes this broth to the next level.
Homemade Chicken Broth Ingredients
- A whole chicken is the heart of this recipe, cooking it bone-in gives the broth incredible richness, body, and depth of flavor that you simply can’t get from boneless cuts.
- Carrots, celery, and onion build that classic savory flavor that makes it taste like home.
- Smashed garlic cloves release their flavor slowly into the broth as it simmers.
- Whole peppercorns add a gentle, subtle heat!
- Fresh rosemary and thyme add a cozy, fragrant flavor that dried herbs just can’t. Fresh parsley adds a final layer of brightness.
- Turmeric gives this broth its signature golden color and contributes an earthy, slightly warm undertone.
- Vinegar is the secret weapon. Just a splash helps break down the collagen in the bones, resulting in a richer, silkier broth.
- Chicken bouillon paste is optional but highly recommended! It adds a concentrated punch of savory flavor.
- Filtered water is best to get a clean, pure flavor. Use enough to fully submerge the chicken, about 10–12 cups.
Variations & Substitutions
- No whole chicken? You can use bone-in chicken pieces like drumsticks, thighs. A mix of parts with bones and some darker meat will still yield a flavorful homemade chicken broth, just expect a slightly lighter body than a whole chicken provides.
- Add a parmesan rind for an extra layer of flavor in this homemade chicken broth recipe. Drop it into the pot along with the other ingredients and let it simmer away.
- Swap in leeks for one of the onions for a slightly sweeter, more delicate flavor.
- No fresh herbs? Dried herbs work in a pinch. Use about 1 teaspoon each of dried rosemary and thyme in place of the fresh sprigs. The flavor won’t be quite as bright, but it’ll still be delicious.
How to Make Homemade Chicken Broth
Step 1: Prep the chicken. Remove the innards from the cavity and place the chicken into a large stockpot cavity-side down.
Step 2: Add everything to the pot. Add the carrots, celery, onion, smashed garlic, bay leaves, peppercorns, garlic powder, onion powder, turmeric, parsley, rosemary, and thyme. Pour in 10–12 cups of filtered water, then stir in the bouillon paste and vinegar.
Step 3: Simmer low and slow. Bring to a boil over medium-high heat, then reduce to low, cover, and simmer for 1 hour. Skim off any foam that rises to the top, then continue simmering for at least 2 more hours, up to 10 for maximum flavor.
Step 4: Remove the chicken. Carefully lift the chicken out of the pot and set aside. Once cool enough to handle, shred the meat off the bones and save it for soups or other recipes!
Step 5: Strain the broth. Pour the broth through a large colander or strainer set over a large bowl to remove the solids. Then do a second pass. Lay 3 paper towels over the strainer and slowly pour the broth through for a perfectly clear, clean finish.
Step 6: Cool and store. Let the broth cool to room temperature, then transfer to airtight containers and refrigerate.
Pro Tips
- Low and slow is everything. The biggest mistake you can make with homemade broth is cranking the heat and trying to speed things up. A hard boil will make your broth cloudy and can actually break down the proteins in a way that muddles the flavor. Keep it at a gentle, lazy simmer where you just see a few bubbles breaking the surface.
- The double-strain is worth the extra step. I know it feels like overkill, but straining through paper towels makes a real difference. Your first strain through the colander will catch the big solids, but the second pass pulls out all the tiny particles that make broth look murky. The result is a gorgeous, crystal-clear golden broth!
- DON’T forget to strain it into a bowl. Pretty obvious, right? 😉 But we are so used to straining liquids through a colander into the sink, that I have almost poured my precious broth right down the sink before. Make sure to have a large bowl ready for the straining process!
- Place the chicken cavity-side down. This is a small detail that makes a big practical difference. When the cavity faces down, it doesn’t fill up with broth during cooking, which means when it comes time to remove the chicken from the pot, it won’t be filled with water and impossible to lift without splashing hot liquid everywhere. Trust me on this one!
- Watch your liquid level on long simmers. If you’re going for a longer simmer (4+ hours), check on the pot occasionally. As the broth reduces, the level will drop, so if it gets too low, just add a splash of water to keep the chicken and vegetables submerged. You want to simmer, not evaporate. That said, some reduction is totally fine and actually concentrates the flavor beautifully.
Storage Suggestions
Once your homemade broth has cooled to room temperature, transfer it to airtight containers and pop it in the refrigerator. It will keep well for up to 5 days in the fridge. When it’s fully chilled, you may notice a layer of fat solidifying on top, this is completely normal! Just stir it back in before using.
For longer storage, pour the chicken broth into freezer-safe containers or zip-top bags (laid flat for easy stacking), leaving a little room at the top for expansion, and freeze for up to 3 months. I love freezing it in 1 or 2 cup portions so I can thaw exactly what I need for any recipe. When you’re ready to use it, thaw overnight in the refrigerator or gently reheat from frozen on the stovetop over low heat.
FAQs
Chicken broth is made by simmering a whole chicken or chicken parts with vegetables and herbs. Chicken stock is made specifically from bones (often roasted) and is cooked for a longer period to extract maximum collagen, resulting in a thicker, more gelatinous liquid.
Taste it! A good broth should taste savory, well-rounded, and deeply flavorful, not watery or flat. After the minimum 3-hour simmer, if it tastes a little thin, keep going.
Cloudiness usually happens when the broth boils too vigorously or when it wasn’t strained well enough. To fix it, make sure you’re keeping the heat at a low simmer throughout, skimming any foam that rises in the first hour, and doing the double-strain at the end.
So many ways! It’s the perfect base for soups like Creamy Chicken and Wild Rice Soup and Dutch Oven Chicken and Dumplings. Use it in place of water when cooking rice or grains, splash some into a pan sauce to deglaze and build something delicious. It can also be used in Stove Top Beef Stew to replace the beef broth. Honestly, keep a few containers in the freezer and you’ll always have a head start on something delicious.
More Homemade Recipes to Try
If you make this recipe, please leave a star rating on the recipe card and comment below! You can also tag @BritneyBreaksBread on Instagram and hashtag #britneybreaksbread so I can celebrate your beautiful creations!
Stovetop Chicken Broth Recipe
Equipment
- Large Stock Pot
- Colander / Sieve
Ingredients
- 1 Whole Chicken, 4-5 lbs
- 4 Carrots, cut into large chunks
- 4 Celery Stalks, cut into large chunks
- 2 Onions, cut into quarters
- 8 cloves Garlic, smashed
- 3 Bay Leaves
- 1 tbsp Whole Peppercorns
- 1 tbsp Garlic Powder
- 1 tbsp Onion Powder
- 2 tsp Turmeric
- Fresh Parsley
- 4 sprigs Fresh Rosemary
- 4 sprigs Fresh Thyme
- 10-12 cups Filtered Water, enough to cover the chicken
- 1 tbsp Chicken Bouillon Paste, optional
- 2 tbsp Vinegar
Instructions
- Remove the chicken from the packaging and remove the innards from the chicken cavity. You can throw them away 1 Whole Chicken
- Place the chicken into a large stockpot (cavity side down – this prevents the cavity from filling with broth while cooking, making the chicken easier to remove from the pot). Add the carrots, celery, onions, smashed garlic, bay leaves, peppercorns, garlic powder, onion powder, turmeric, parsley, rosemary, and thyme into the pot. 1 Whole Chicken 4 Carrots 4 Celery Stalks 2 Onions 8 cloves Garlic 3 Bay Leaves 1 tbsp Whole Peppercorns 1 tbsp Garlic Powder 1 tbsp Onion Powder 2 tsp Turmeric Fresh Parsley 4 sprigs Fresh Rosemary 4 sprigs Fresh Thyme
- Pour in 10-12 cups of filtered water, making sure the chicken is fully submerged. 10-12 cups Filtered Water
- Add the chicken bouillon paste and vinegar, this helps pull the collagen out of the bone, adding tons of flavor. 1 tbsp Chicken Bouillon Paste 2 tbsp Vinegar
- Place the pot on the stove over medium-high heat and bring it to a boil. Once it starts boiling, reduce heat to low, cover with a lid, and allow it to simmer for 1 hour. Around the 1 hour mark, you’ll see foam rise to the top – those are impurities. Skim that off with a spoon or strainer for a cleaner, clearer broth. Continue to simmer for an additional 2 hours (up to 4 hours depending on how long you want to develop the flavor). The longer it gently simmers, the richer, deeper, and more concentrated your broth will become – just be sure to keep it at a low simmer and add a splash of water if the liquid reduces too much.
- Once the broth is done, carefully remove the chicken from the pot. Get a large strainer or colander and place it over a large bowl. Pour broth into the strainer. Discard the veggies (or eat them, your choice!)
- Then we’re going strain the broth again. Pour broth back into the pot. Place 3 paper towels on top of the strainer and place the strainer on top of the bowl. Pour the broth through the paper towels, slowly, and let it drain through.
- Let it cool to room temperature, then pour into an airtight container(s) and place into the refrigerator.
Notes
- Cavity-side down is key. Place the chicken with the cavity facing down in the pot — this prevents it from filling with liquid and makes it much easier to remove after cooking.
- Don’t skip skimming the foam. Around the 1-hour mark, foam will rise to the top, skim it off for a cleaner, clearer broth.
- Low and slow wins. Keep the heat at a gentle simmer, not a rolling boil. A hard boil makes the broth cloudy and can muddy the flavor.
- The vinegar is doing real work. Don’t skip it! It helps pull collagen from the bones for a richer, silkier broth. You won’t taste it in the finished product.
- Double-strain for a clear broth. After straining through a colander, do a second pass through paper towels for a beautifully clear, restaurant-quality result.
Nutrition
Nutrition information is automatically calculated, so should only be used as an approximation.